Happy New Year everyone! We’ve both been busy with work and travel but found some time over New Year’s weekend to work on what turned out to be one of my favorite projects!
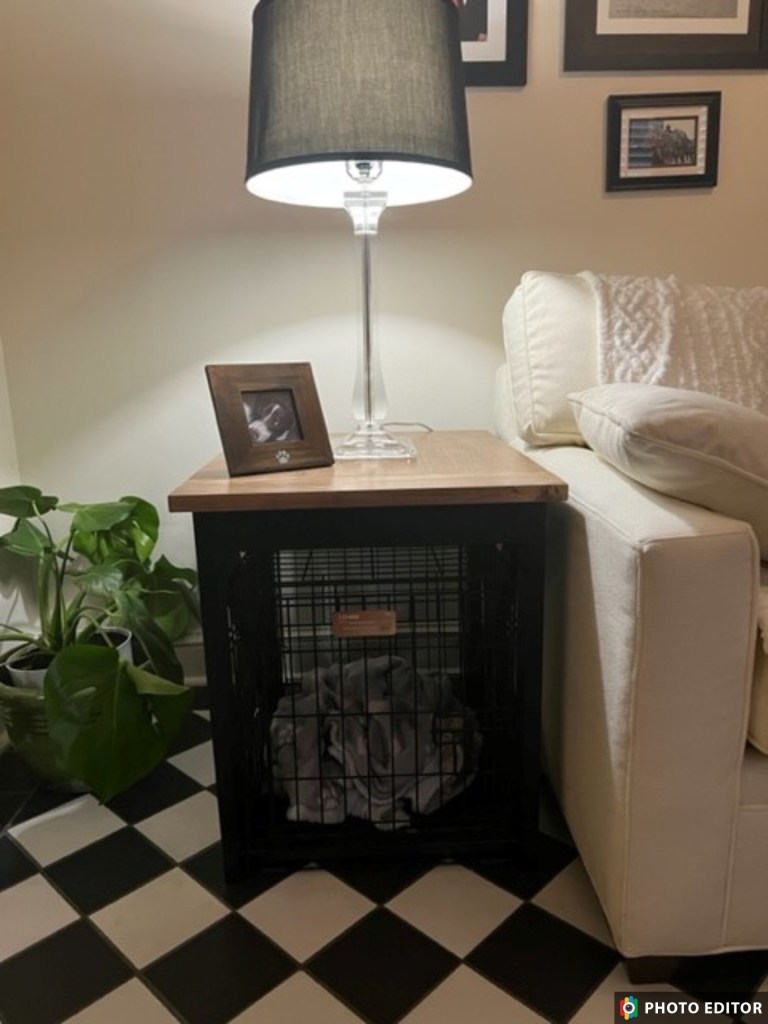
As a background, my Christmas gift from Keith is to redecorate my office which also serves as Chloe’s room and occasionally a second guest room with its pullout sofa. I’ve had an end table next to the sofa and came up with the idea to create a cover for Chloe’s crate which would allow it to act as an end table. Prior to this project, Chloe’s crate sat in front of some built-in bookshelves which always made my office look cluttered and took up more room. So this idea was a win-win!
Some searching on Pinterest gave me an idea of what I wanted, so with Chloe’s crate measurements in hand, Keith & I started planning the project.
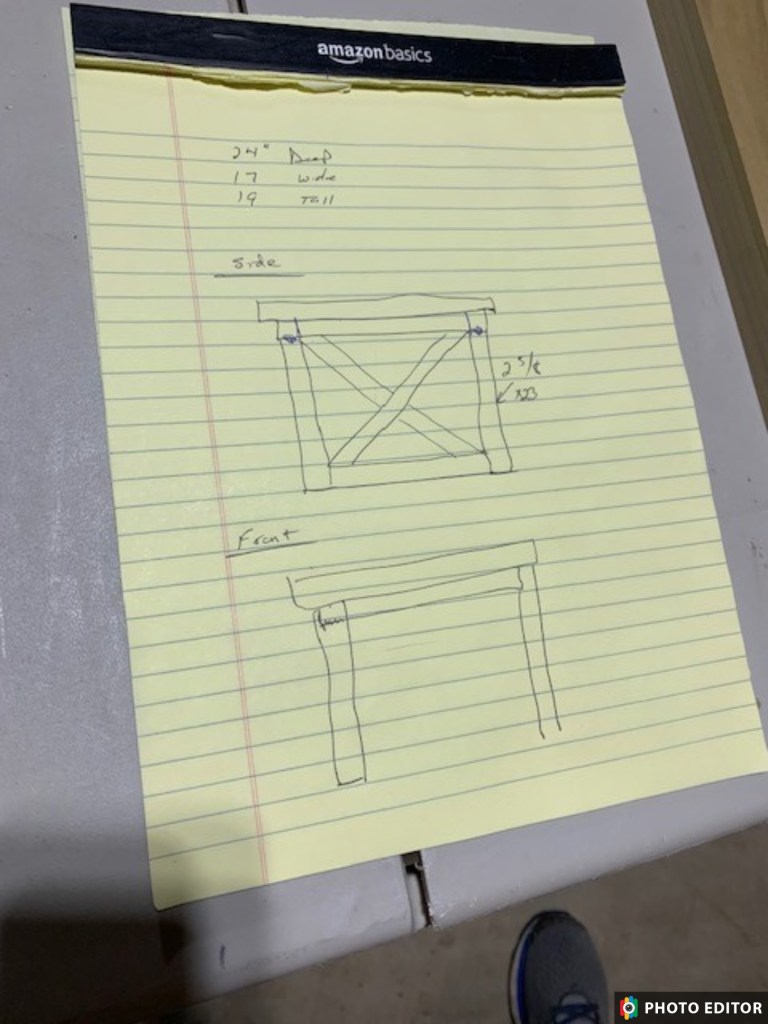
Once we finalized the design, we talked about what kind of wood we would want to use. Thanks to our friends Sandy & Jack, we had some leftover hardwood they had given us, so we knew we could use that for the sides of the table, but we wanted something special for the top. So off to one of our favorite places in Atlanta, Carlton’s Rare Woods and Veneers. They have some amazing pieces of wood there for almost any project you could think of. You may remember that last year we built a table for my sister Susan and the top was a gorgeous white oak which came from Carlton’s. But back to Chloe’s table. We didn’t want to break the bank with super exotic woods and found a couple of beautiful Ambrosia Maple planks which would provide us more than ample wood for the table. Carlton’s has a serious planer, so we had them do a few passes on the wood just to make sure we liked what it would look like. Well, we loved it and brought it home that day.
Later that week we headed up to the mountains and got to work!
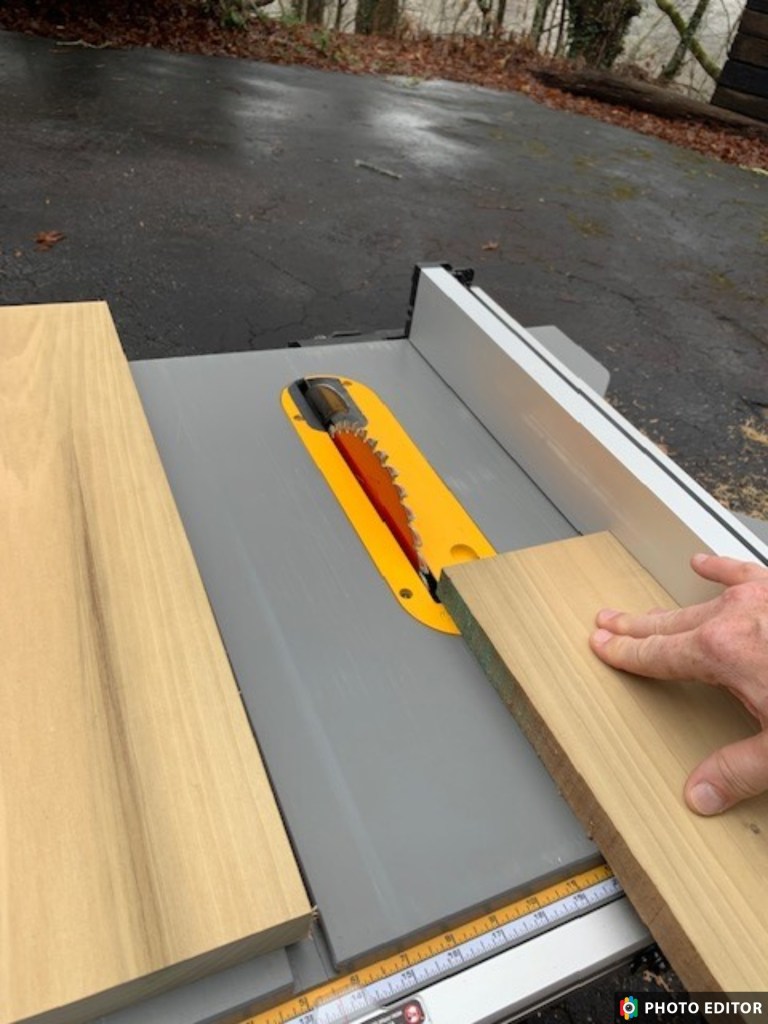
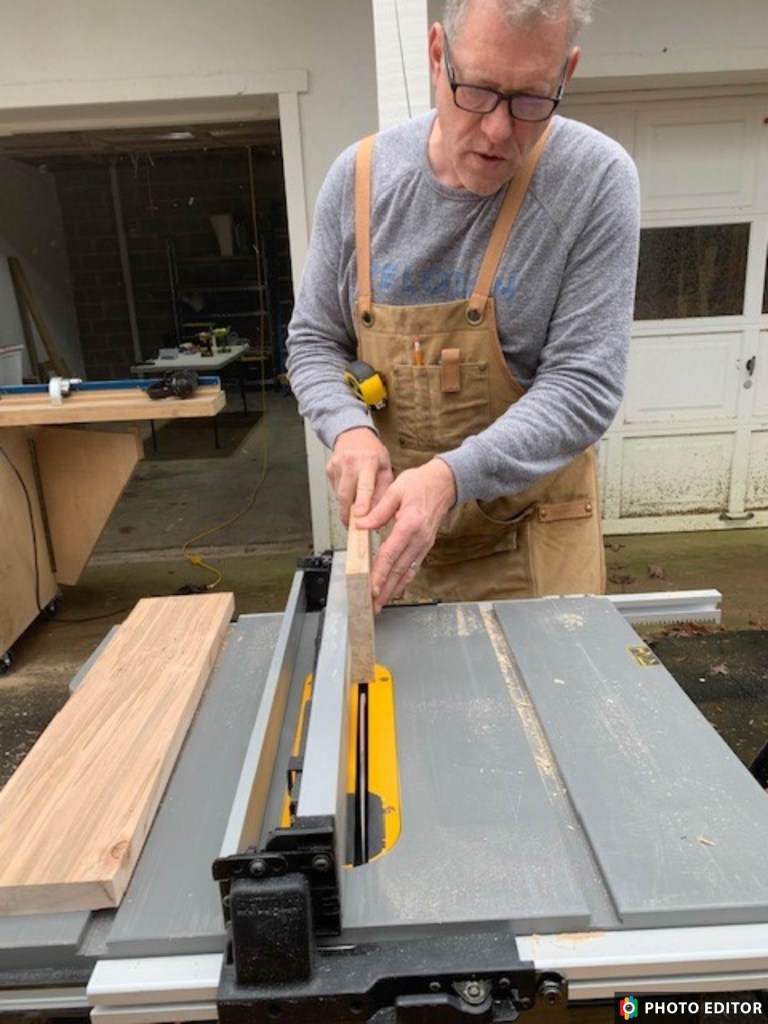
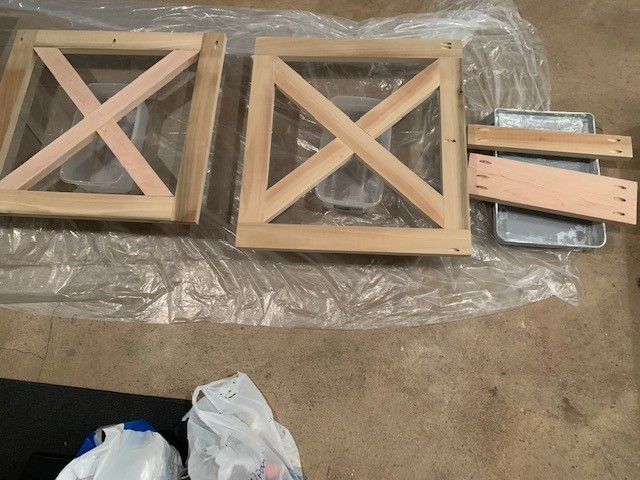
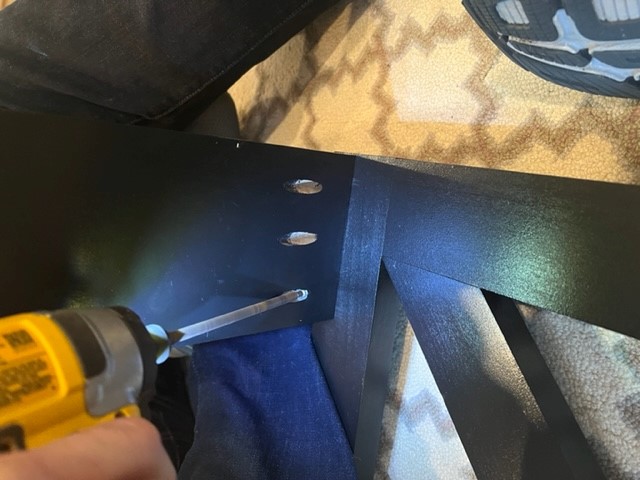
In case you’re wondering, Keith does all of the work with table saw after a little incident I had last year with it. Nuff said…. 😉 and yes I still have all of my fingers! You may notice that in that last picture above, there’s a channel in the wood. That’s because we wanted to do a breadboard finish to the ends of the top. Once we had all of our cuts, we assembled the pieces.
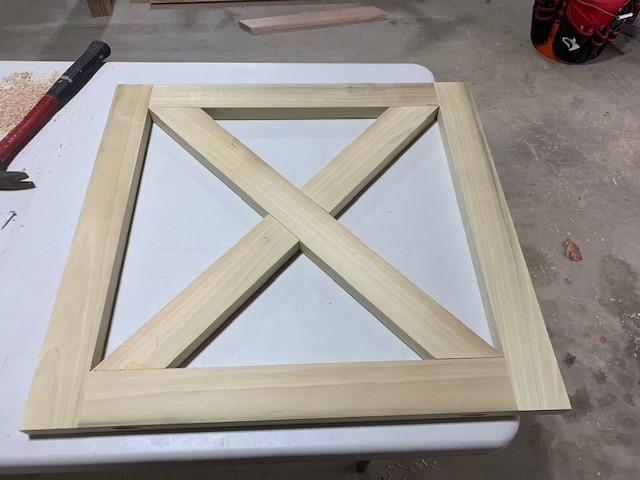
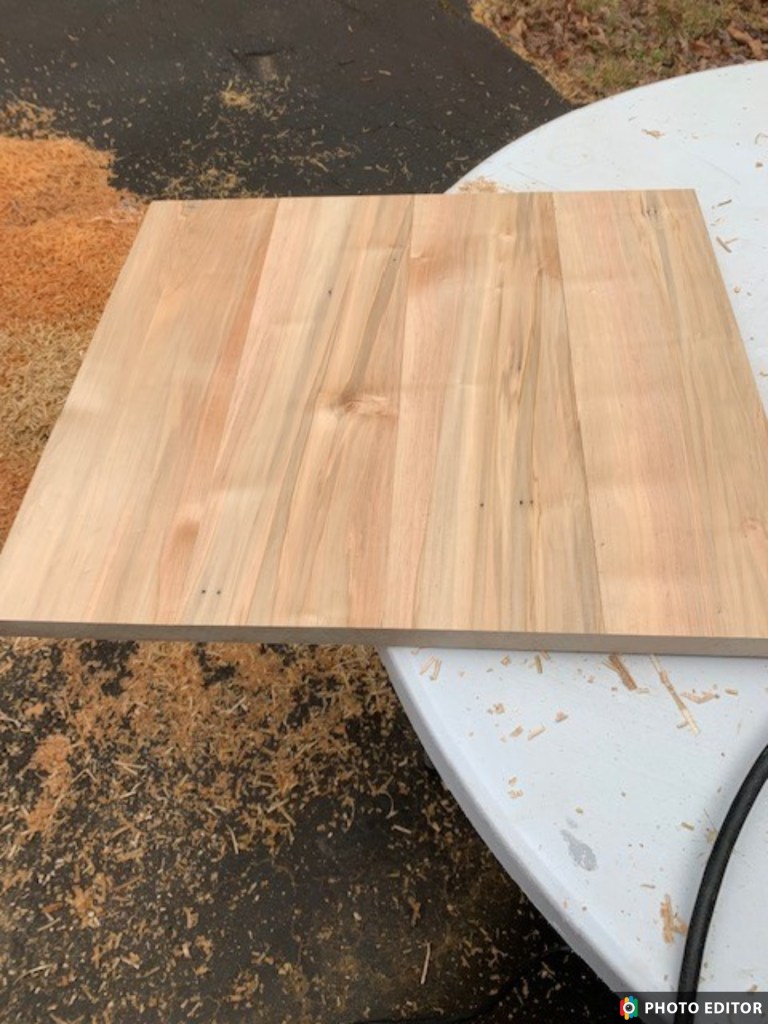
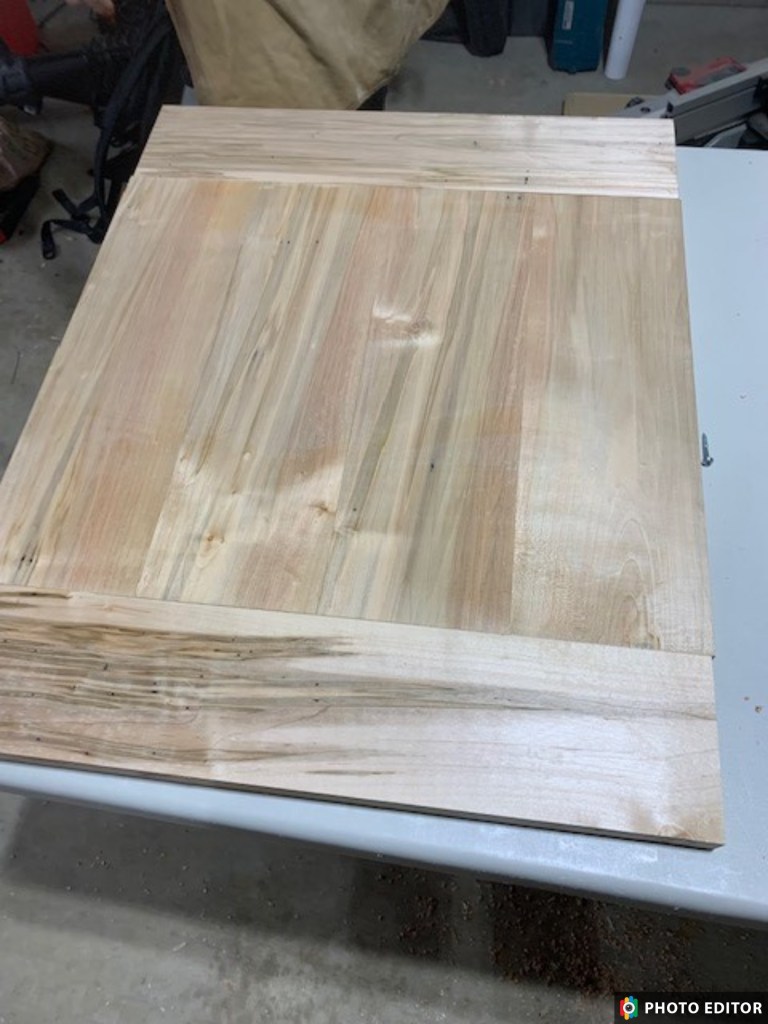
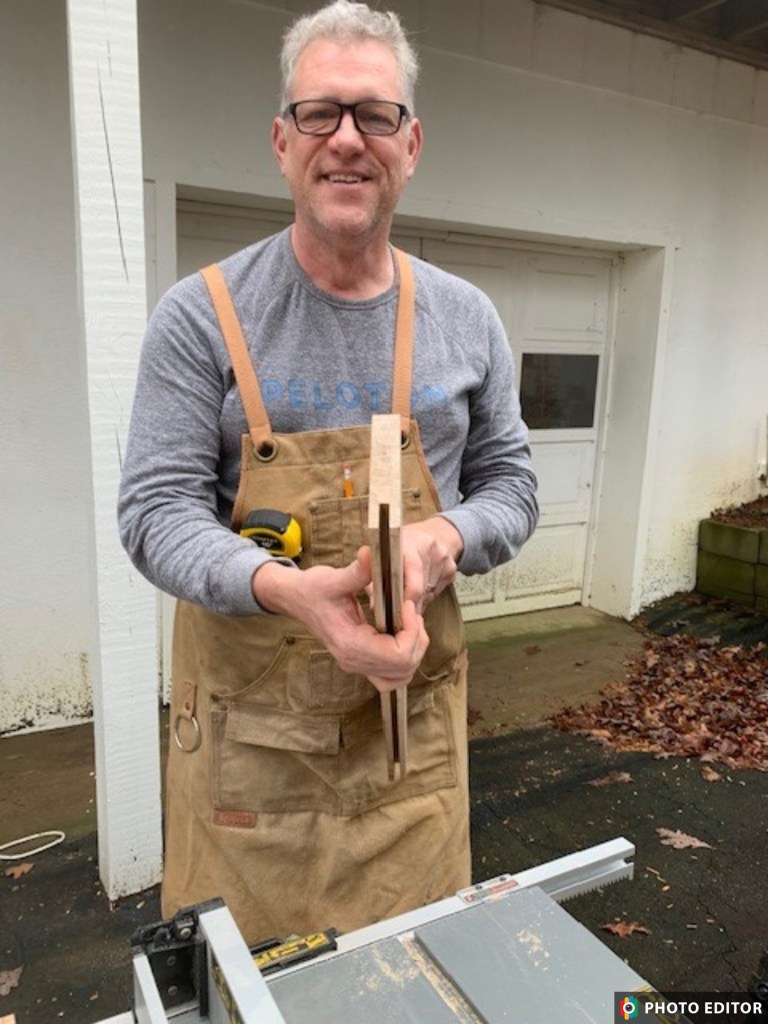
Notice that on the middle photo above, the wood is vertically aligned, and on the last photo we have the two horizontal pieces butting up to them. We used a tongue-and-groove joinery there which is called the breadboard as I mentioned before. While we were still in the mountains we went on and drilled all of our pocket holds so that we could assemble it back in Atlanta.
It’s been a chilly week here in Atlanta so I set up shop in our basement to finish the project.
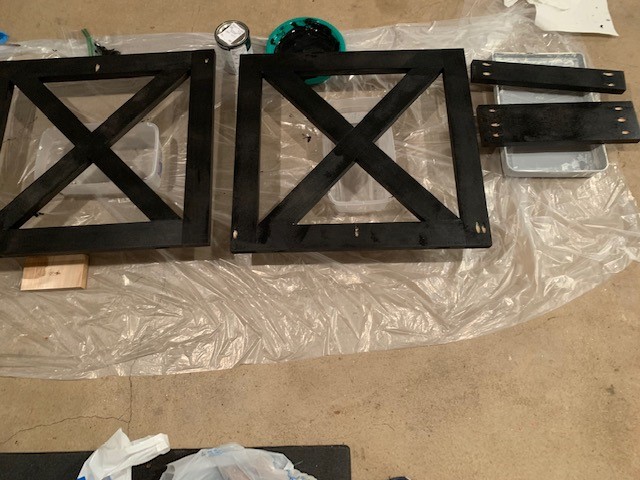
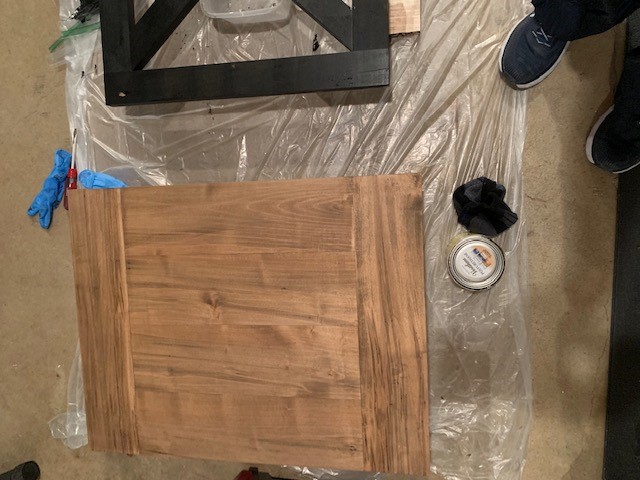

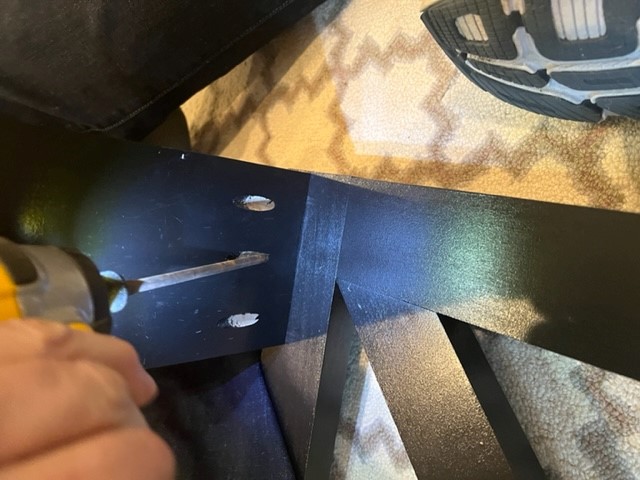
I chose a medium stain color for the top and then put several coats of wipe-on polyurethane to protect it. The sides I just painted with a semi-gloss black. It took several coats but the finished product is amazing. Fast forward to today when we assembled it. We had the pocket holes already drilled so all we had to do was screw the sides into the top and the front and back ledgers in and we were good to go! We did make the back ledger lower so that when you slide her crate in, it will stop at the right spot.
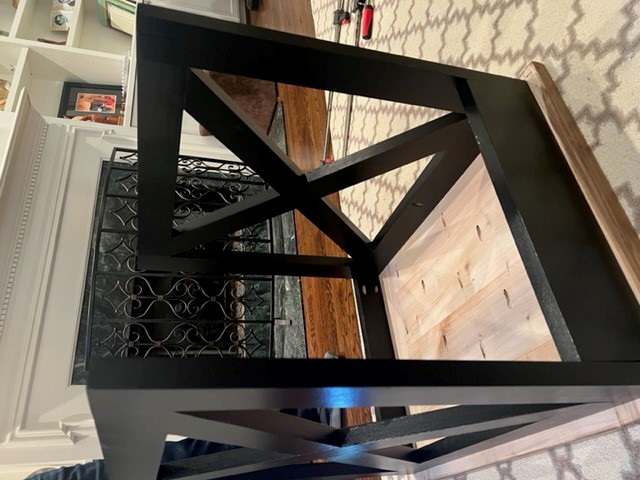

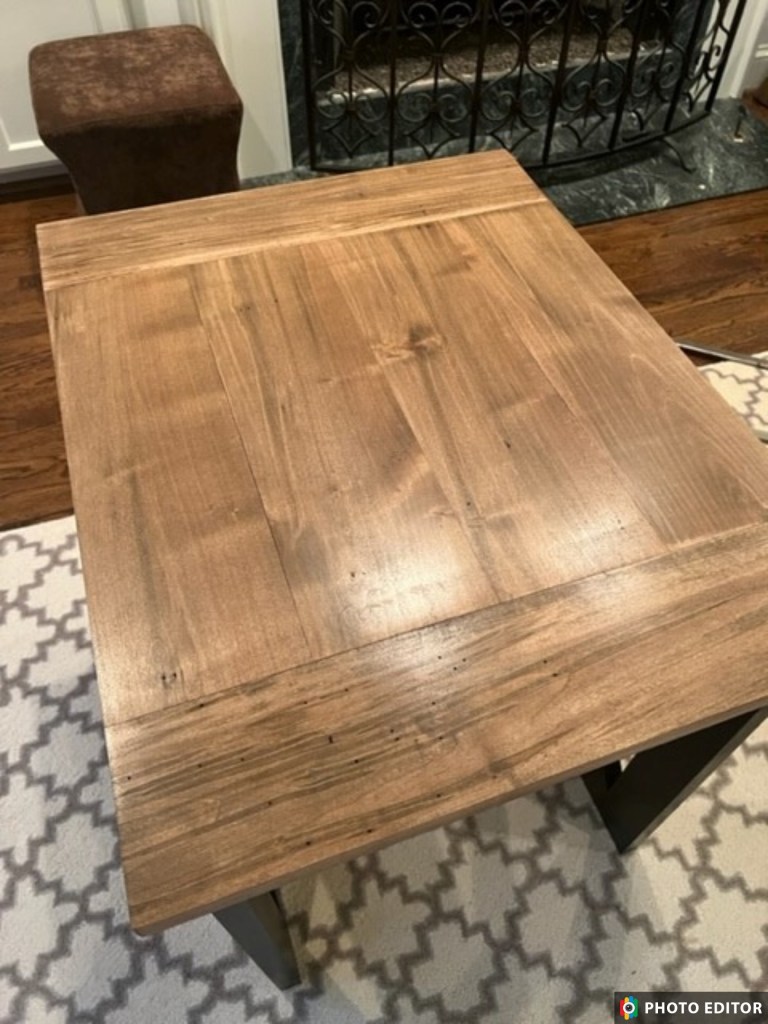
And now, here you go! The final project which I LOVE!!!!!!!!!!!!!

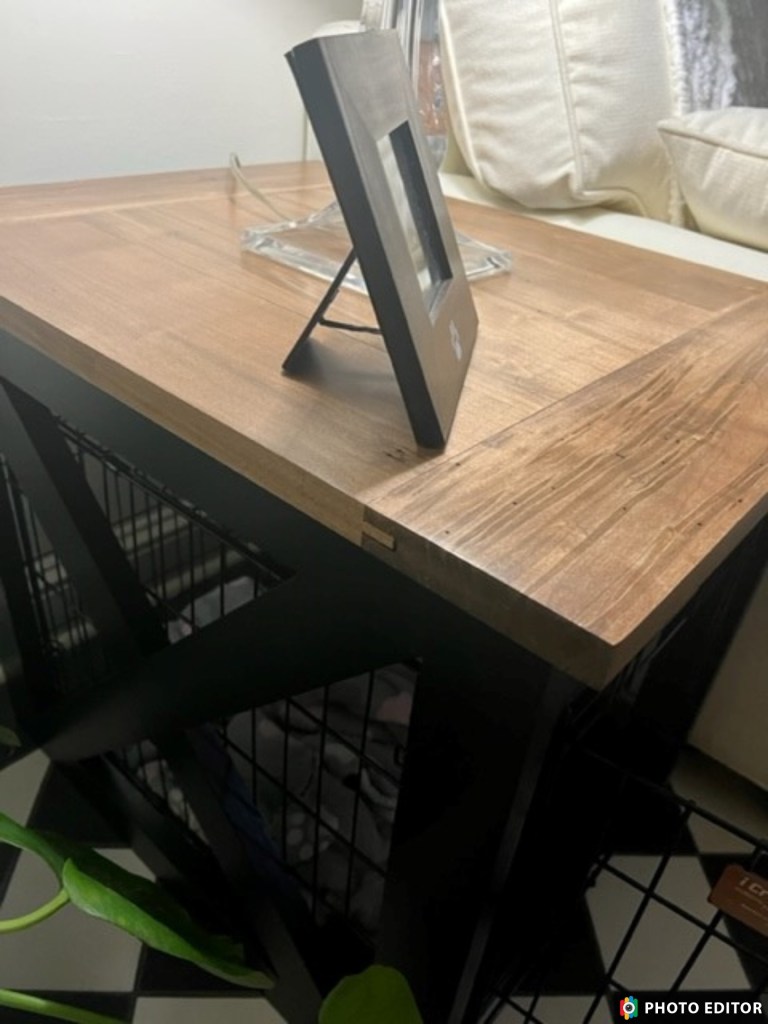
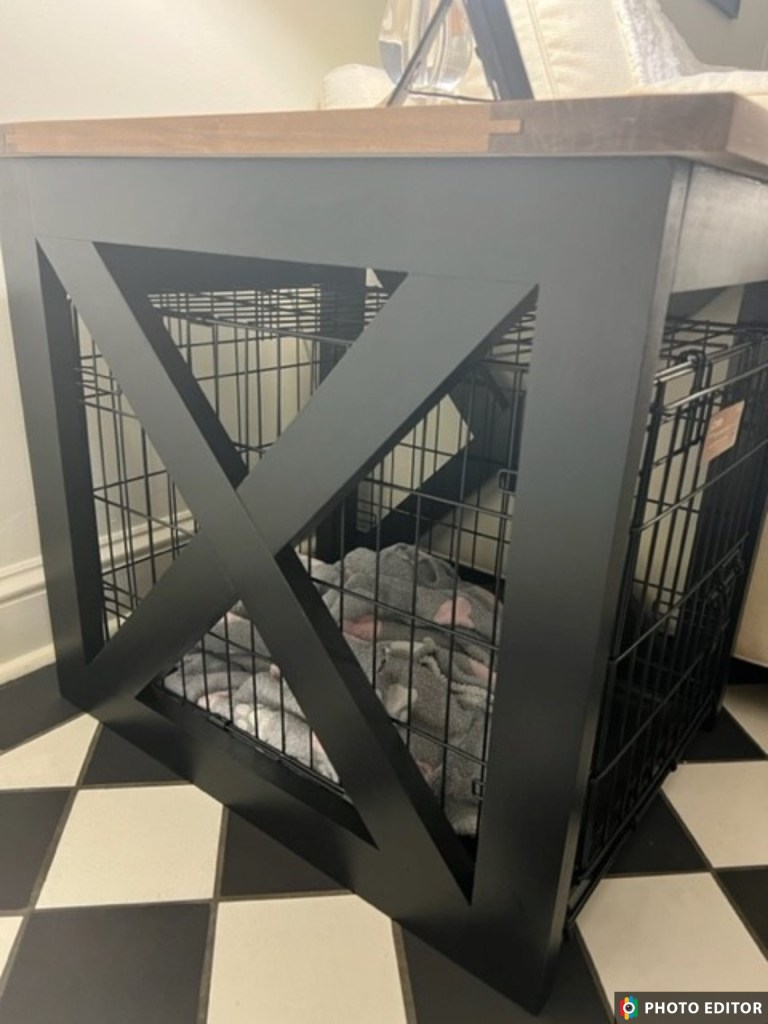
That last picture on the right shows the breadboard joinery, which Keith is very proud of! And honestly we’re both proud of the project even though it was simple and quick.
I hope you enjoyed reading about this project as much as we enjoyed making it!

Beautiful! I agree it is a win win. How does Chloe like it?
Clio C. Silman Cell: 312.371.0427
>
LikeLike
She was a little hesitant to go in it last night but partially that’s because it’s in a different spot than where her crate has been for the past 6 1/2 years! But she seemed to sleep well so that’s what matters!
LikeLike
You could market that! So smart!
LikeLike
You two have such talent. Two peas in a pod. This is gorgeous. I am sure Princess Chloe will love it!
PS you could use this talent in your retirement down the road!
LikeLike