Hi everyone! I hope all of you had a wonderful, healthy Thanksgiving holiday! We had a really nice week up at our mountain house and had my stepdaughter and her fiancé join us for a few days. We did some hiking and cooking and of course some projects!
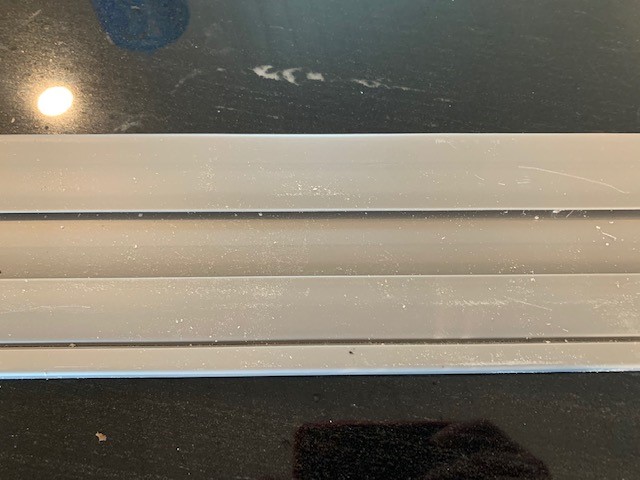
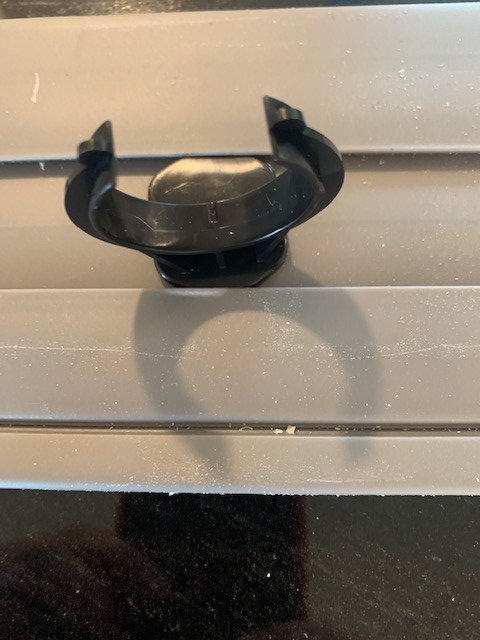
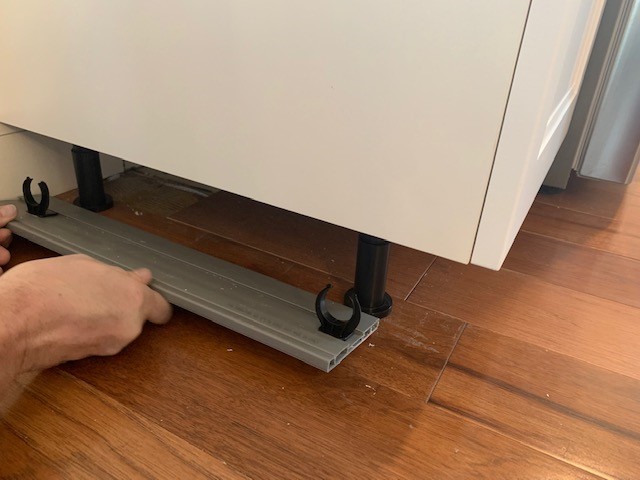
First, and not so glamorous, is that we finally finished the toe kick in the kitchen, so the kitchen is officially DONE! The last indoor project we have is to make the banquette, so stay tuned to some winter blogs on that. But back to the toe kick, the way the Ikea toe kicks work is they snap on to the cabinet legs with these little plastic pieces. It took us about 45 minutes to get it all put on. I did the running down to the basement to cut the toe kicks to length while Keith laid on the floor, measuring and snapping on the toe kicks. I forgot to take a picture of the finished product, but trust me it looks WAY better than before when you could see the legs and under the cabinets!
Now on to the fun stuff! Now that it’s the Christmas season, I thought I’d show you a project we did last year, and a new project we finished this afternoon. Let’s start with our project from last year. I was at lunch with two girlfriends and told them Keith & I were planning to make a Santa, sleigh, and reindeer for our front yard. My friend Leslie, who is more artistic in one finger than I am in my entire body, suggested that we make a dachshund “reindog” instead of a reindeer. My first thought was “no way can I do this”. Then I got searching and found this inspiration.

And every single day, I get to see this inspiration….

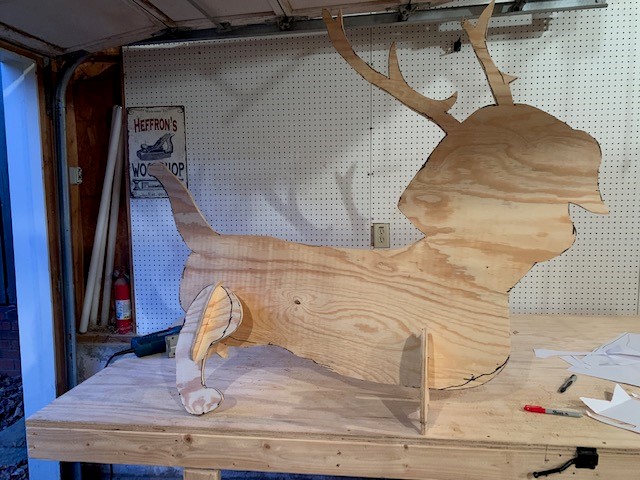
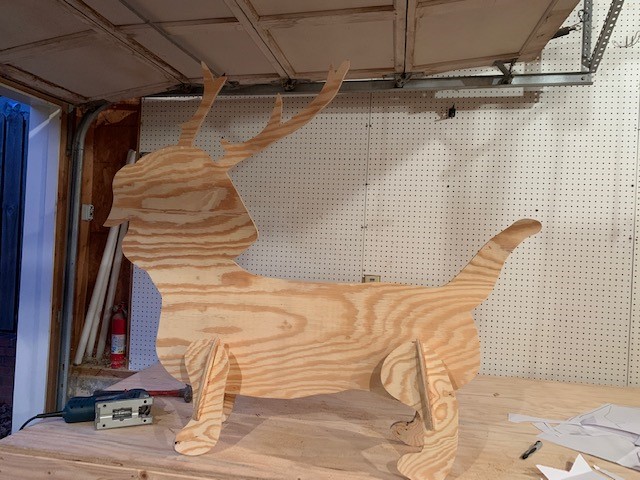
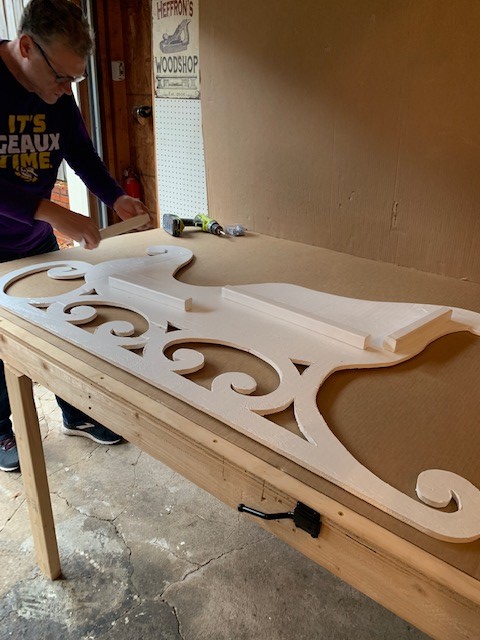
And while I was totally intimidated at the idea of doing the reindog, I decided to go for it! I borrowed Leslie’s projector and traced the body of the inspiration picture onto a piece of pressure-treated plywood. Keith & I merged the reindeer template with the dachshund inspiration to create the legs as well as the cross-pieces to attach them. Here’s a few pictures of the process.
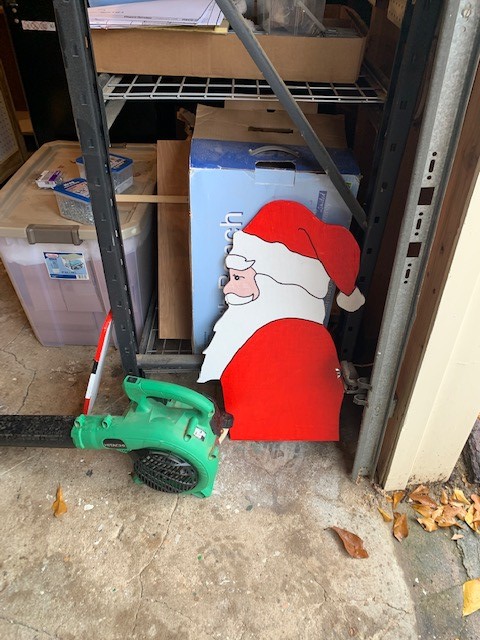
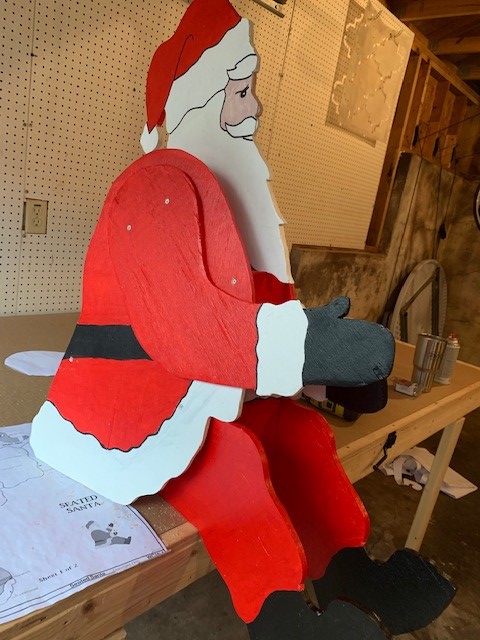
Okay, so that wasn’t horrible to do, but then I had to make it look like Chloe. If I had been thinking, I would have traced the facial features of the inspiration picture onto the plywood, but I wasn’t. For Santa it wasn’t too bad because the template we used allowed for me to trace the lines to paint inside. Plus my sister Susan had come for a weekend so she helped me some with Santa. But I was on my own with Chloe! I spent a lot of time in the basement painting Santa and Chloe.


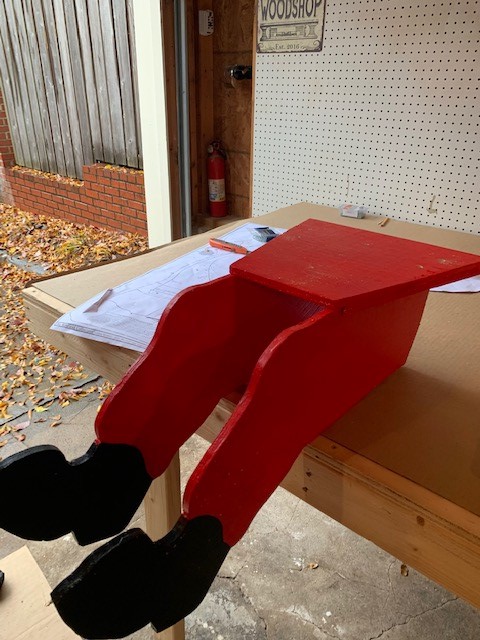
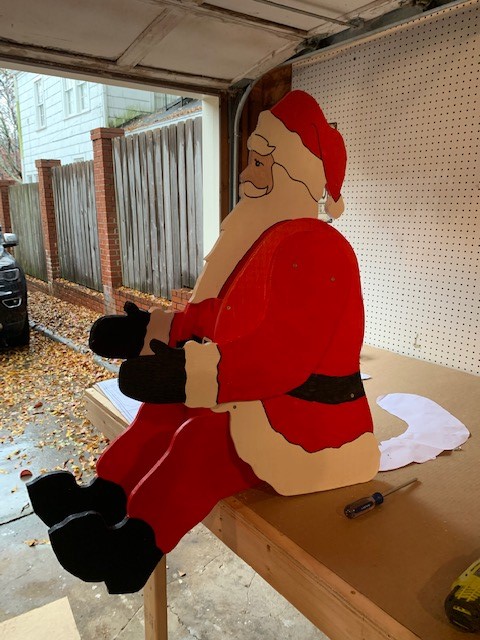
And then we started assembling Santa….
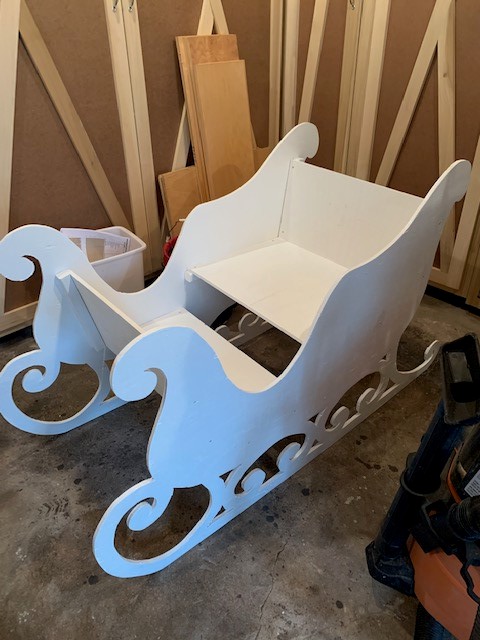
Oh and let’s not forget the sleigh. That was some work with the jigsaw, let me tell you!
But the end result was SO worth it! Plus, it all breaks down and can easily be stored in our basement for the other 10 1/2 months of the year! Chloe the Reindog and Santa and his sleigh are back up in the front yard for all (in Atlanta) to come by and see!

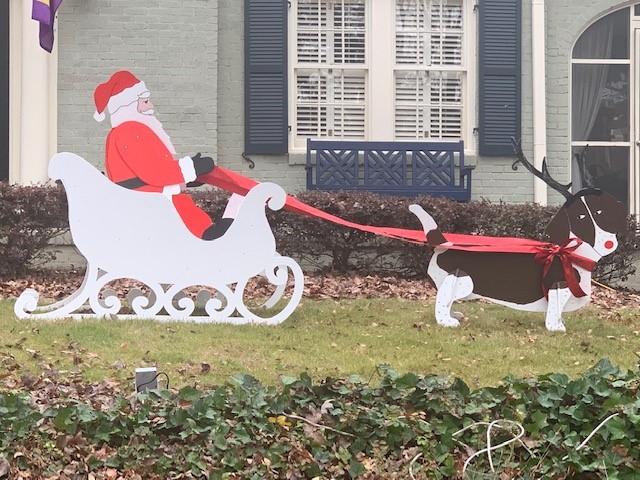
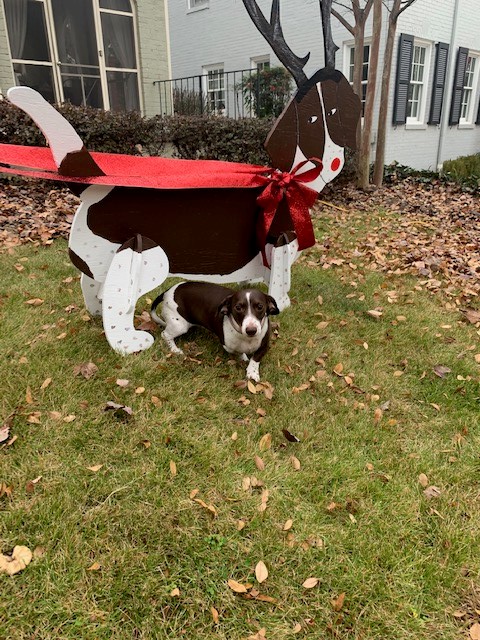
I’m sure those who in our neighborhood who don’t know Chloe wonder what the heck we were thinking, but for those who do know her, they love it! And so do we!
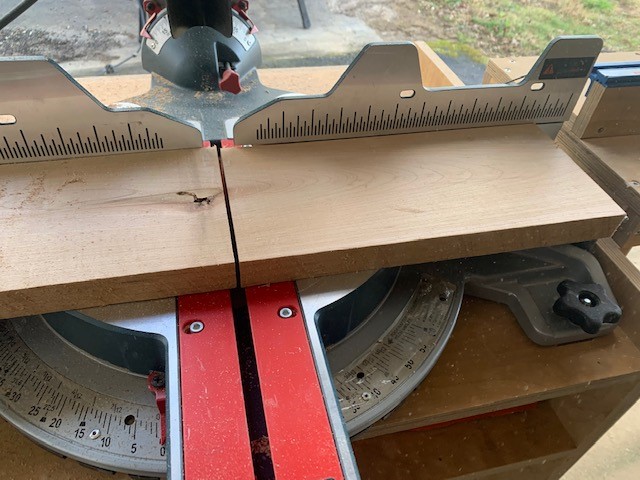
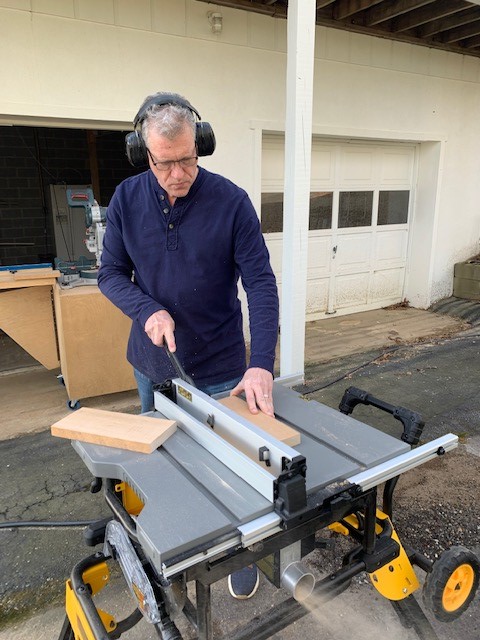
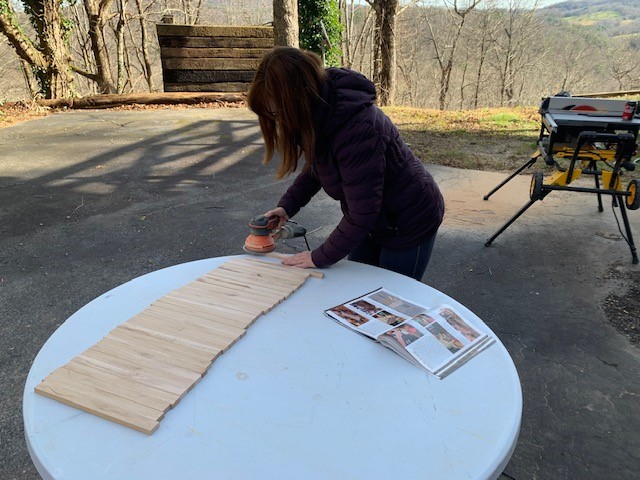
Now, on to our latest project which we just finished this afternoon. Keith gets a number of woodworking magazines and we saw a super cute project in one of them. So, on Friday we started making it. It’s a Kisses Christmas tree. To make it, we used some scrap wood we had laying around. I cut it to 12″ length and then we ran it through the table saw to create 30 1″x1/2″ strips. Once we had those cut, I sanded the pieces to get rid of the blade marks.
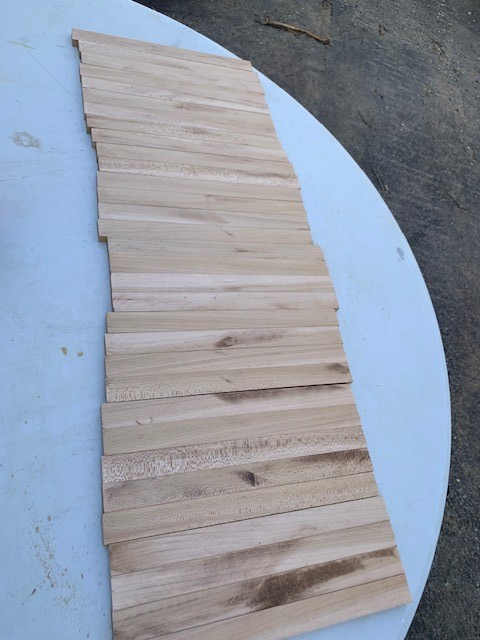
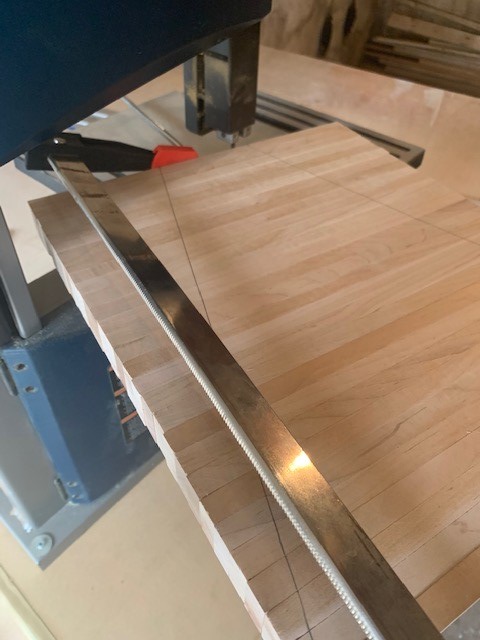
That was as far as we could go on the project until we came back to Atlanta where we had our band saw and our drill press. It had been a little while since we’ve made anything in Atlanta! But we were right at home back in the Heffron woodshop!

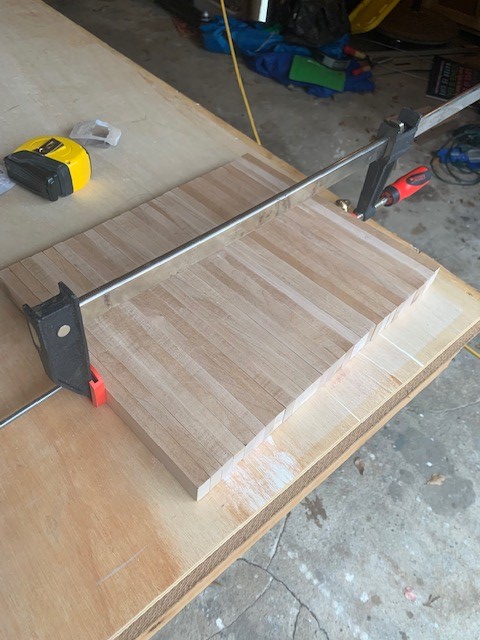
Ha! That was a gift for Keith a few years ago. 🙂 Yesterday afternoon, we drilled holes in the center of each board and then clamped up the pieces and cut the angles to make the “tree”.
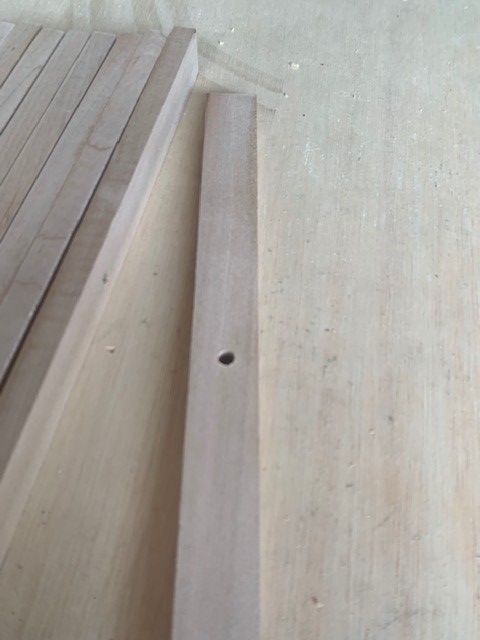
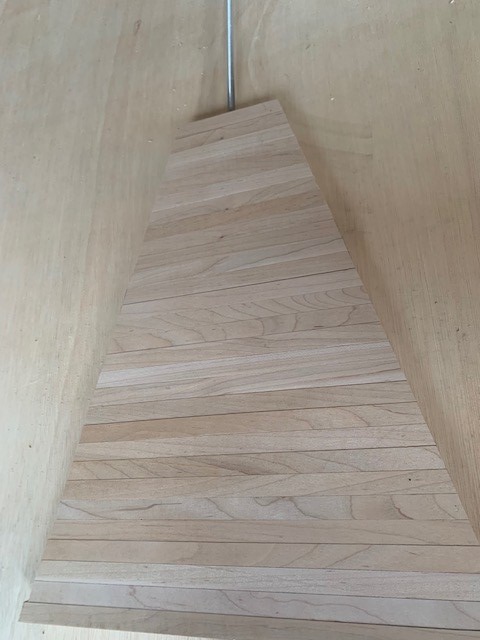
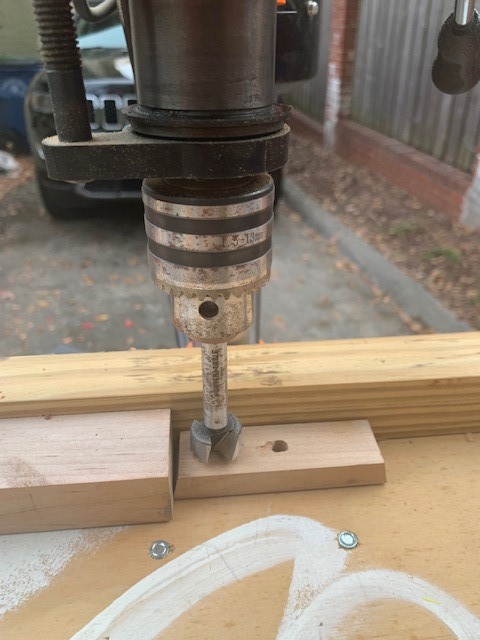
The drill press made easy work of the holes. Once we had cut the “tree”, it was time to start drilling the recesses for the kisses using a forstner bit. That’s when the drill press pretty much became essential to have uniformly cut recesses.
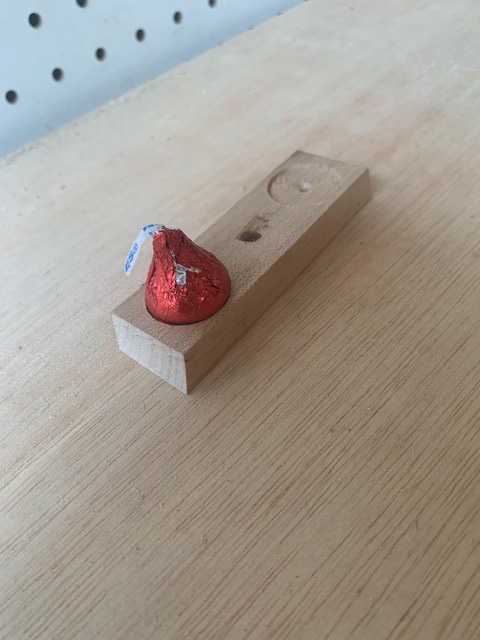
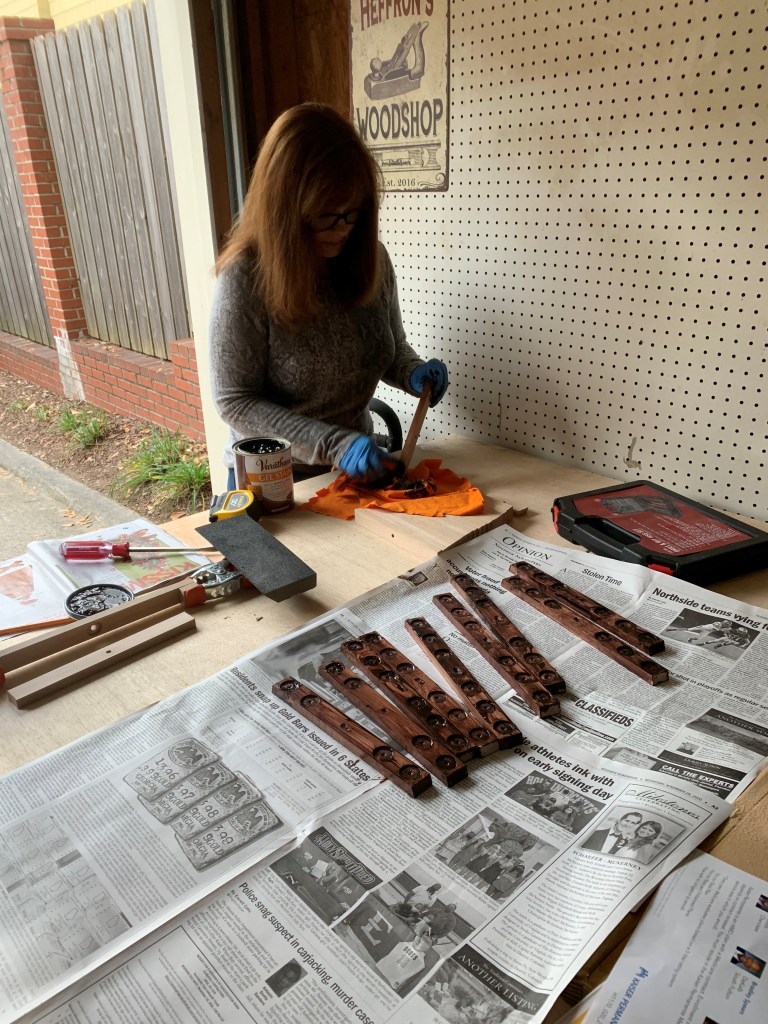
It took a while to cut all of the recesses, but we eventually finished them all. Then it came time to stain all of the pieces. It was messy work. It was my first time to use gel stain and I’m not sure I’d use it for this kind of project again. It was hard to apply to all of the recesses and then was even harder to wipe out once it was in there!


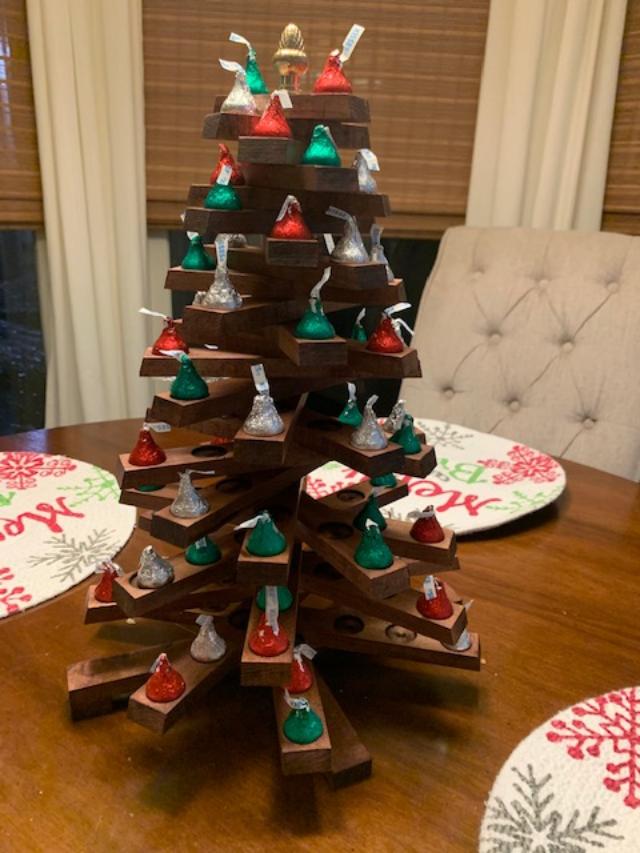
And here is the final result! I had bought a bag of kisses thinking one bag would be enough, but I still have a LOT of empty recesses! I think it’s absolutely adorable and I hope you think so too!
Have a great week ahead and stay well!

Wow – another great holiday project!!
LikeLike