We hope everyone had a fun and safe holiday weekend. I’m sure it’s no surprise to all of you that we had a productive week! I took Wednesday and Thursday as PTO and had Friday off as a holiday so we got a lot done. And we managed to have some fun this week too! (although we are nerds and find renovating to be fun!) So sit back and get ready for a long blog post….
This week was Keith’s birthday so I wanted to do a few fun things together with him. One thing we did was hike Glen Falls. It is one of our favorite relatively easy hikes and it is breathtaking. It’s the first place we ever hiked together four and a half years ago too, so it’s kind of special to us!

After that little break, we got back to work in the guest bathroom. My original thoughts for the bathroom was to rip out the current vanity and replace it. Then I had an idea that we could swap out the shower and the current vanity and make a larger shower, but we scrapped that idea due to cost and the amount of work it would be. The more I started looking at the vanity, it was really just the doors which were ugly so that’s how we decided to make our own. It was a good practice round for the kitchen since that’s our plan for it is to make our own fronts for Ikea cabinet boxes. Of course you saw that in last week’s blog, so I won’t go through the process of that again. And Keith is putting together a video showing how we made them, so look for that hopefully today or tomorow.
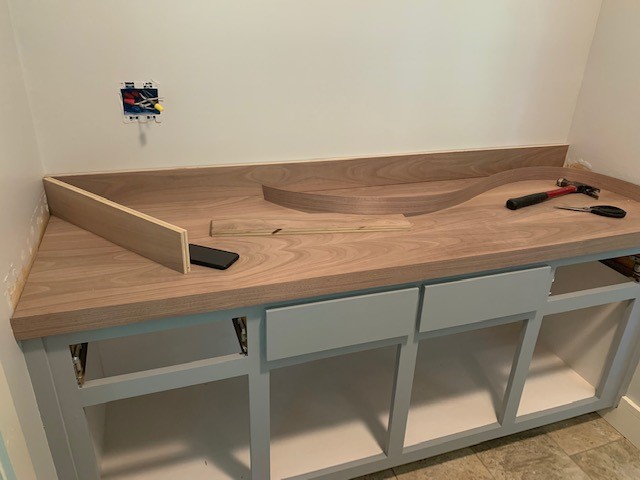
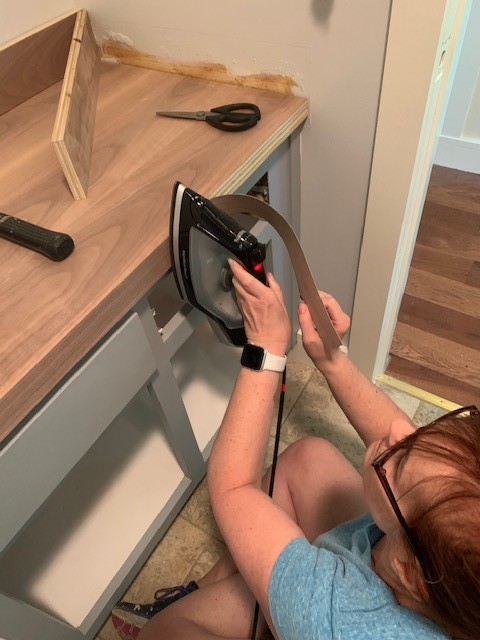
Once we decided to do replace the cabinet doors with our own, we had to figure out what to do with the ugly countertop. I did a fair amount of research and we decided to make our own countertop using walnut plywood and edge banding. You don’t know what edge banding is? Well, I had used it during a woodworking class I took back when I lived in Chicago, so I had a tiny bit of experience with it. So let me show and tell you a little bit about our countertop. We started with a 2’x8′ piece of plywood and cut it to the right length. Then we placed it on top of the old vanity top plywood after pulling off the formica (it’s just a thin layer). Once we did that, we cut our edge banding to length and used a hot iron to glue it to the edge of the two pieces of plywood. Then our plywood looked like a solid piece of walnut!

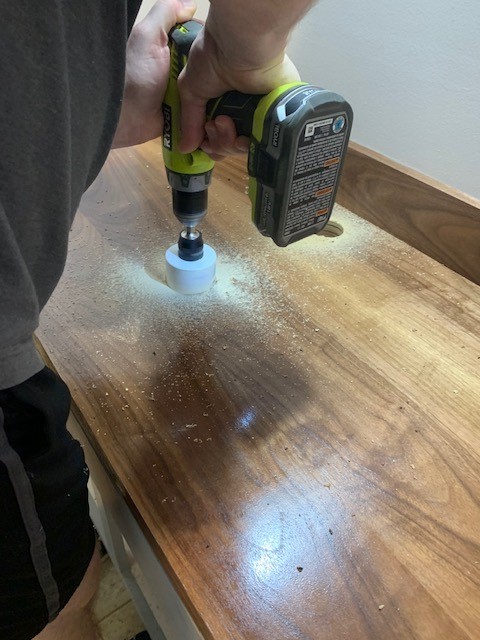
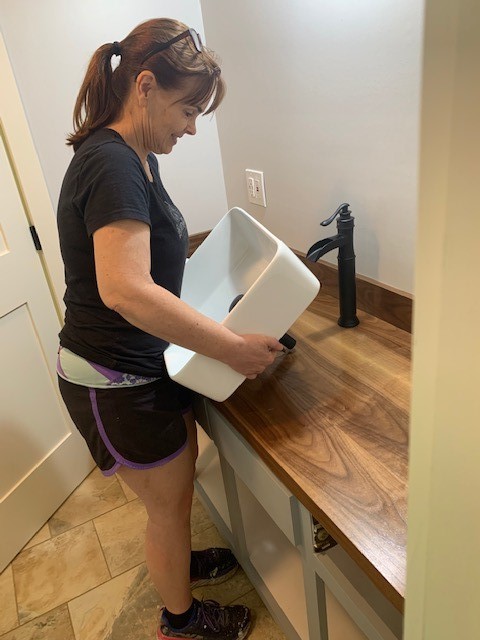
Once we had this in place and put the backsplash on with the edge banding, I sealed it with three coats of exterior grade polyurethane. After that dried completely, it was time to cut holes for the sink drain and the faucet and install them.


During the week I had sanded down our cabinet doors, primed them and put three coats of paint on them. Then it came time to install! We used European concealed hinges with soft close. Keith got to use his new Kreg jig for drilling out the hinges, which of course he loved!

And now for the big reveal….may I present to you our new guest bathroom!
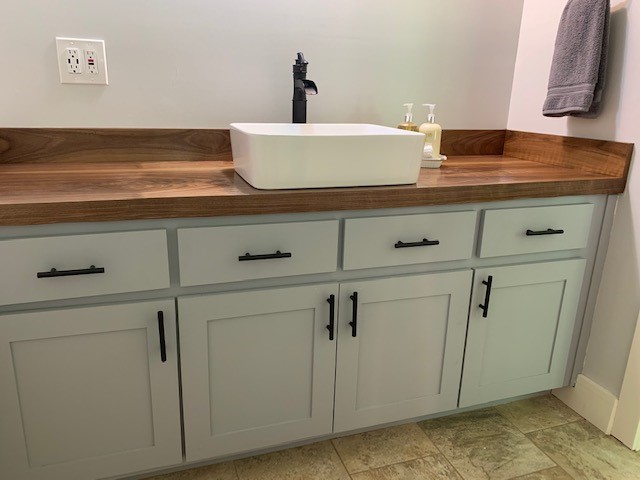
We still have to make our mirror, but it is a completely functional and attractive bathroom now! More on the mirror next week, but we have a neat plan for it involving more of the walnut plywood.
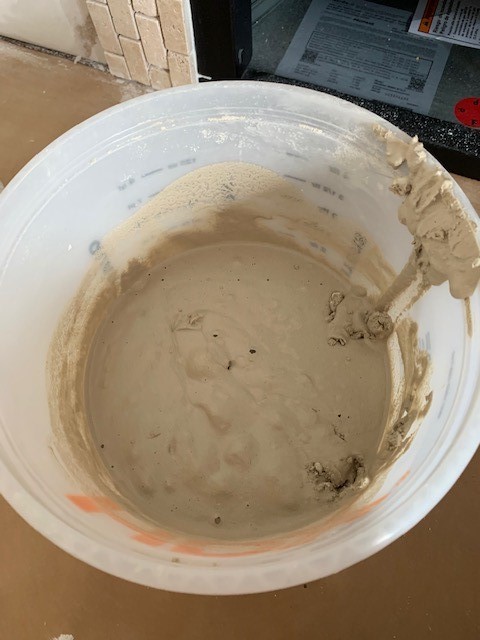
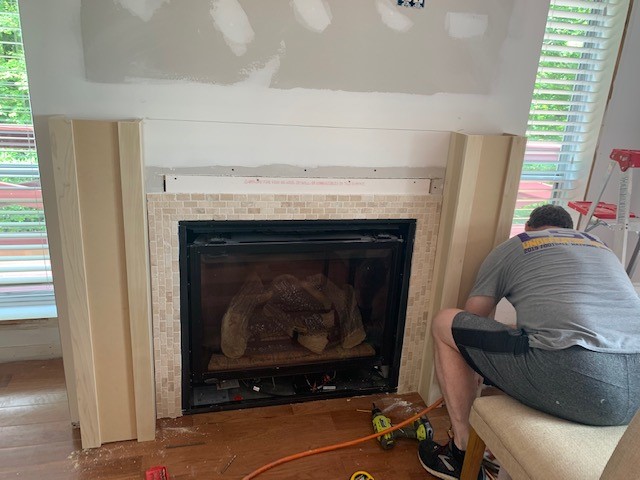
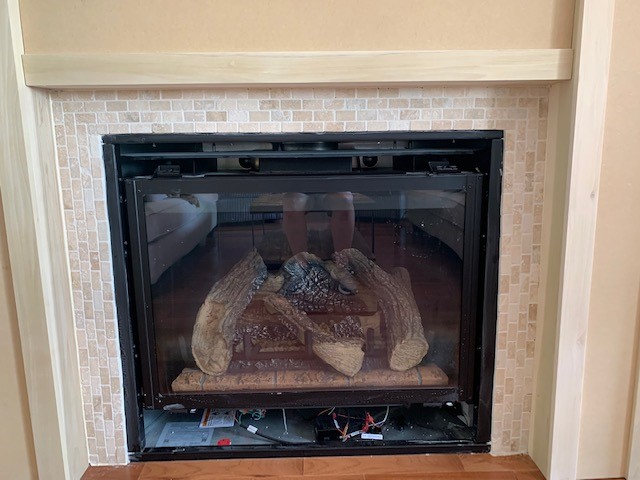
Now on to our other big project this week, the mantle. We aren’t quite done but we are super close. We just need to plane a few trim pieces and then we will wrap it up. But since our planer was in Atlanta and we weren’t, we will bring it back up with us for next weekend. Let’s start with the tiling. After watching about 5 minutes of YouTube videos, we were confident enough to start. We used premixed thinset which made it fairly easy. We measured and taped off the “lines” we wanted to stay within and we also placed a ledger board to make sure we kept our top line straight.

We then had to wait 24 hours for the tile to set before grouting. This was a wee bit more challenging as we thought we had bought premixed grout and we hadn’t! It kept hardening up on me but we eventually got it up and it turned out great.
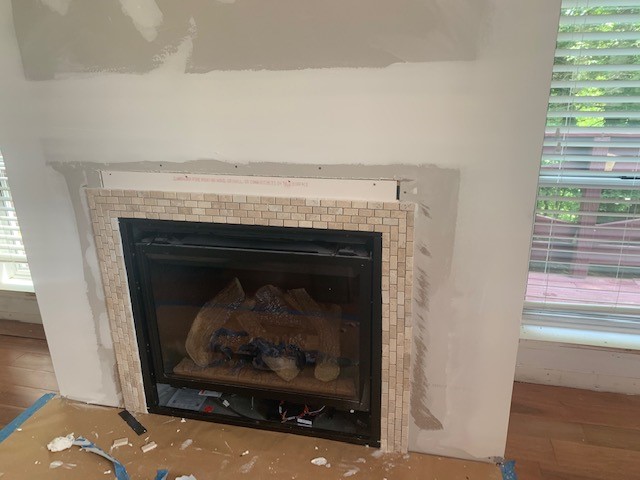
After this was done it was time to make the mantle! Yesterday morning we started cutting our MDF and our poplar boards. We started with making the columns. To do this, each column is comprised of two poplar boards and a piece of MDF. We used our dado blade on the table saw to cut grooves for the MDF panels to sit in. Then we used our pocket hole jig to cut pocket holes and screw in the sides of the columns.


Voila! Columns for the mantle. We followed a similar method to create the piece which goes across the columns, then it was time to place a piece of poplar, attach crown molding to it, and then attach the top piece of the mantle.
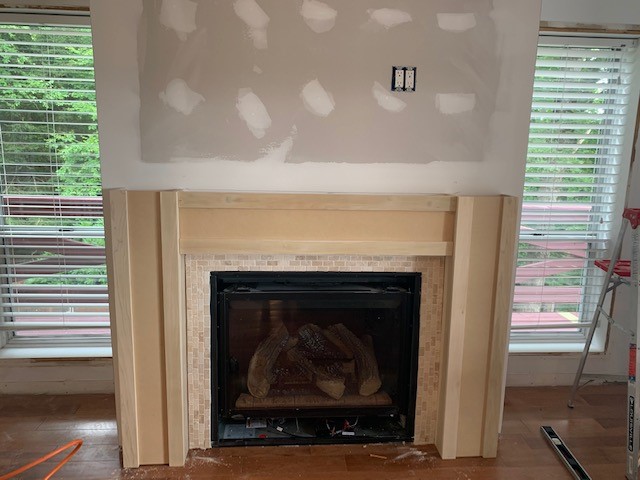
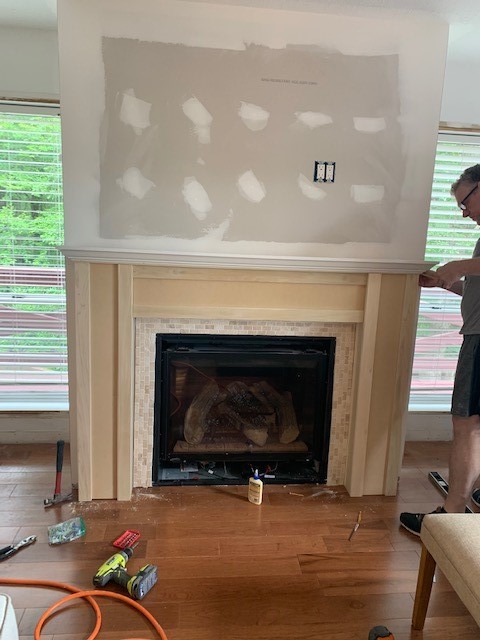
And here’s the (almost) final product! We still need to add the additional trim pieces at the top and the base, but otherwise the mantle is complete.
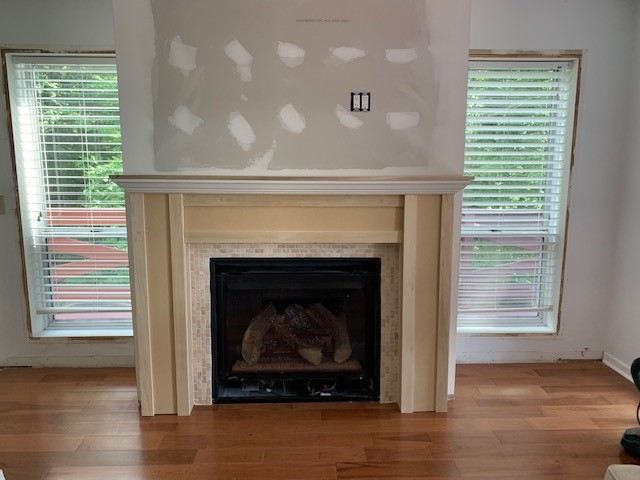
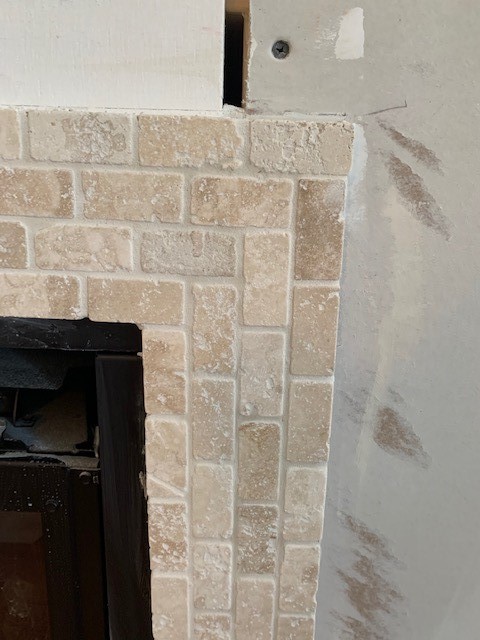
Here is a closer up view of the mantle next to the tile.
In between building the columns of the mantle and the top of the mantle, we took a little break to go fishing. There’s a little trout pond about 3 minutes from our house, so we decided to go check it out. Well, it was us and a bunch of 3-10 year olds with their parents out fishing! Haha! We each caught one and were so excited to make this be our dinner. We brought them home, brined them and smoked them on the Egg.


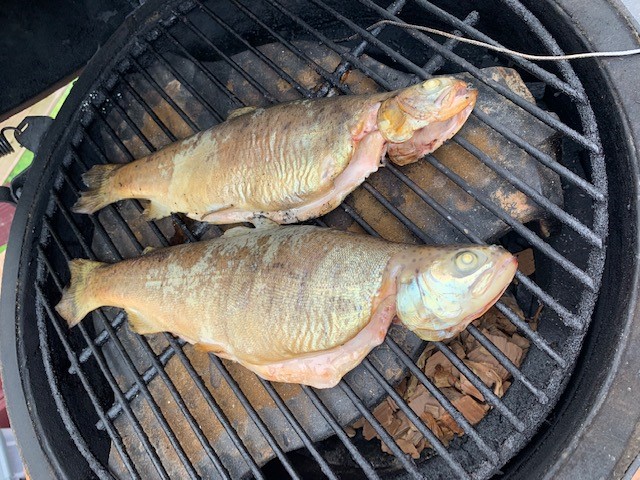
And … they sucked. Really sucked. As in inedible. We don’t know what we did wrong, but we ended up eating some leftover BBQ and we literally threw the fish off the deck way out onto our very sloped backyard for some wild animals to enjoy. Because we did NOT enjoy them! Oh well. It was fun!
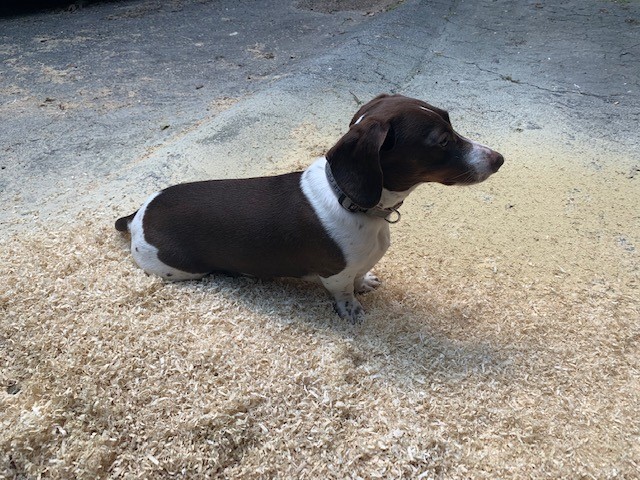
Last but not least, I thought I’d show this adorable picture of Chloe sitting in a pile of sawdust. She’s pretty tolerant of us working on the house, to say the least.
Until next week….

Absolutely amazing! Beautiful craftsmanship and detail.
LikeLike
You and Keith need your own show. That is amazing what you have done.
LikeLike