Wow, what a week!

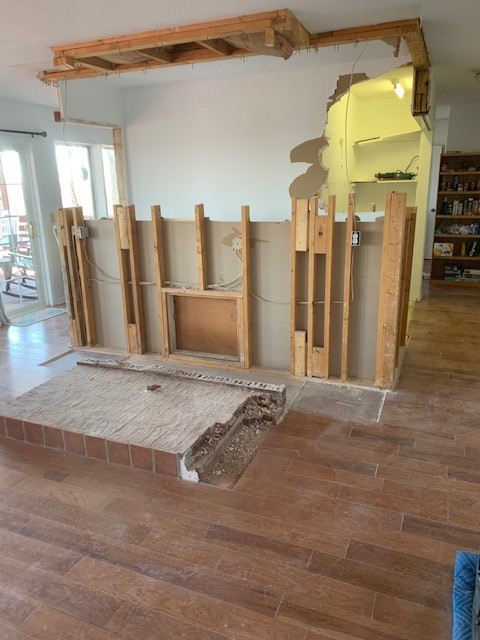
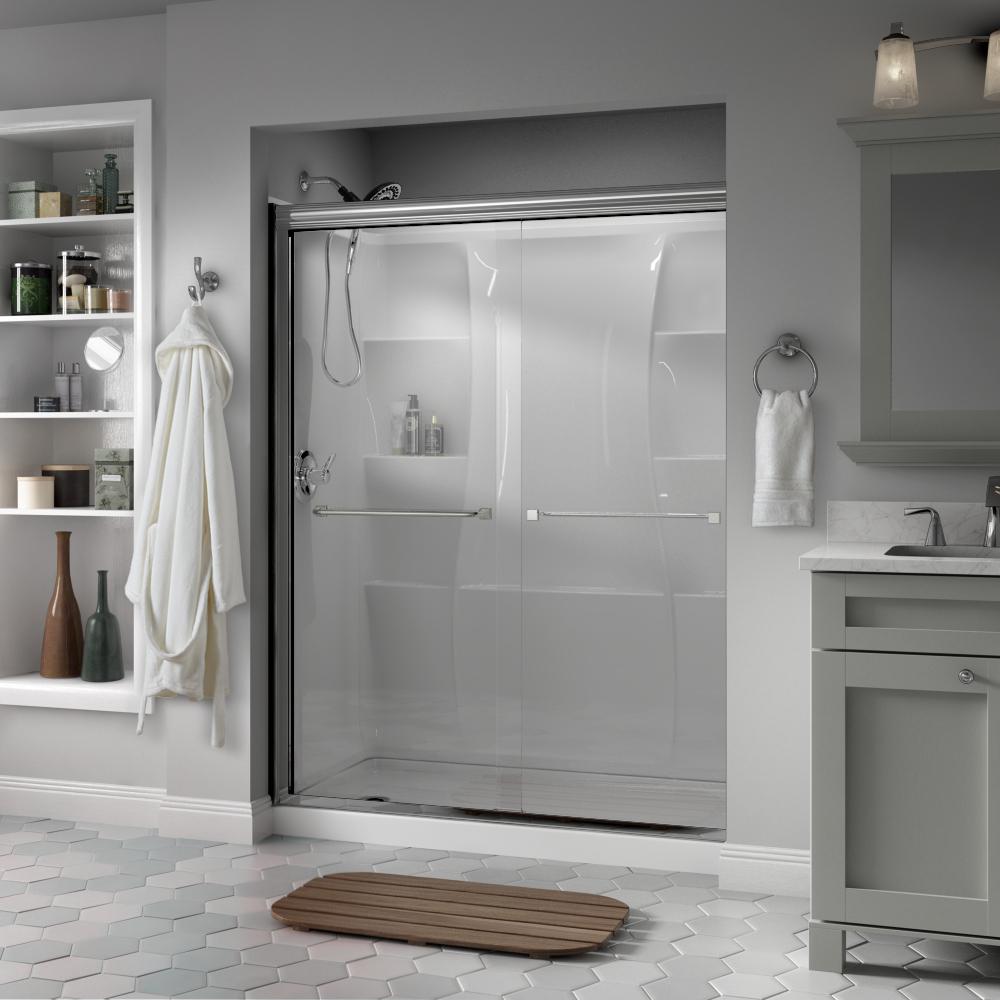
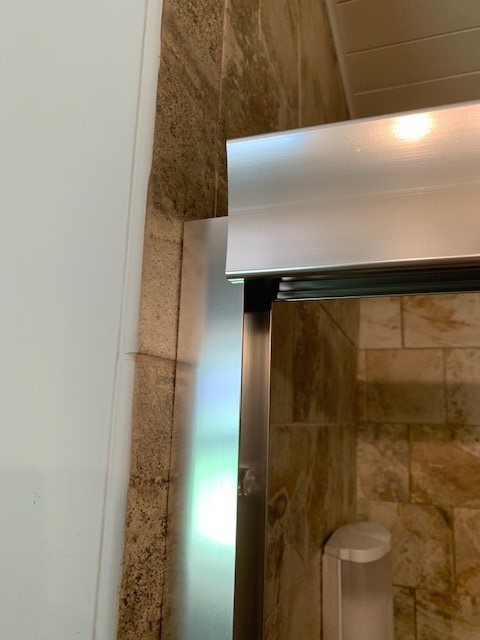
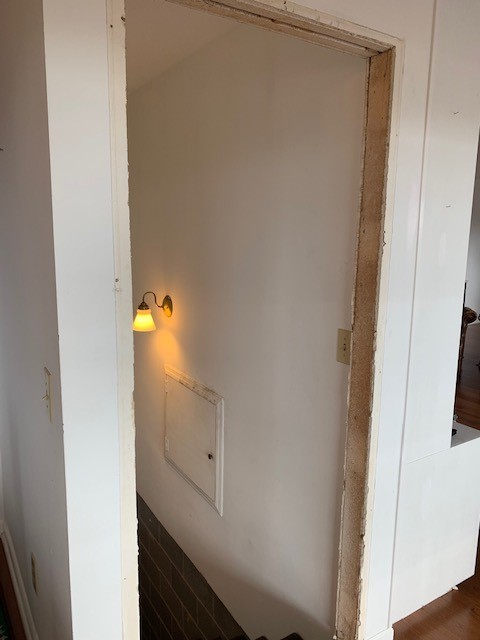
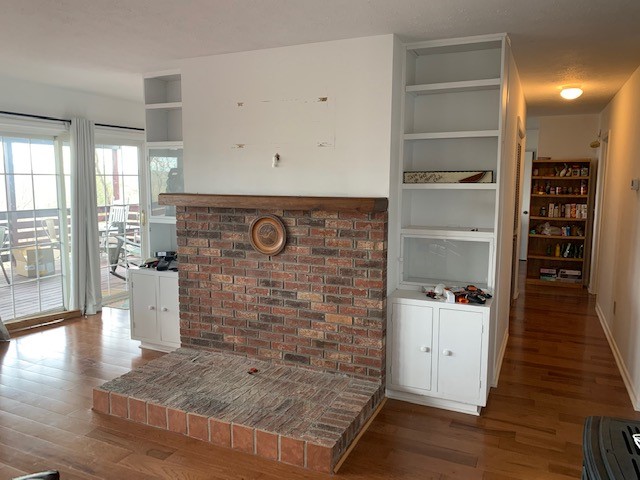
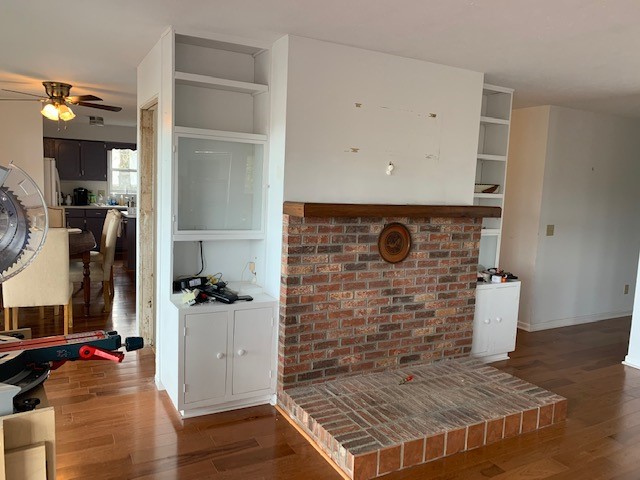
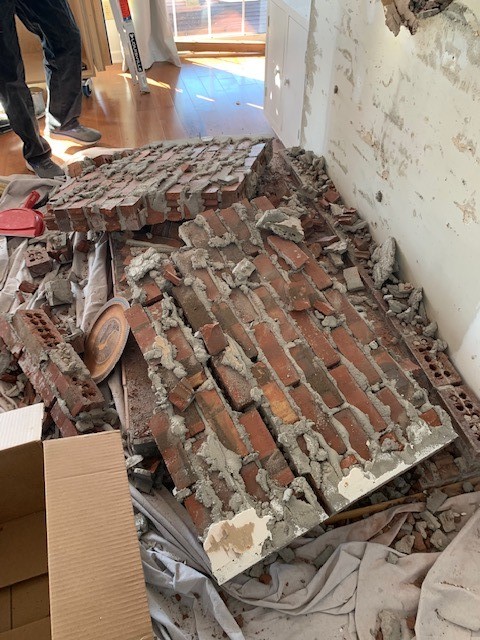
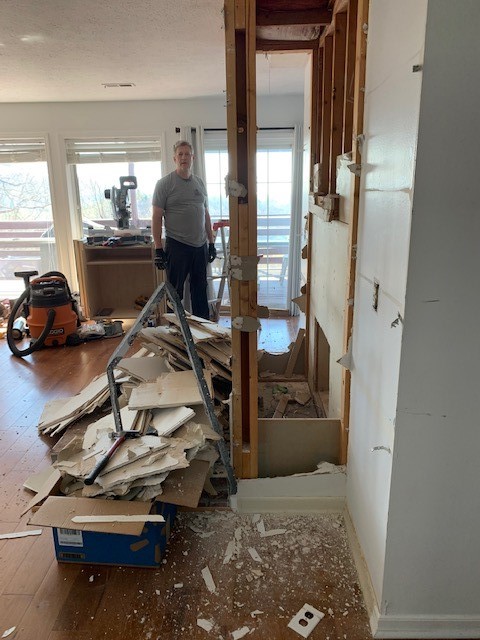
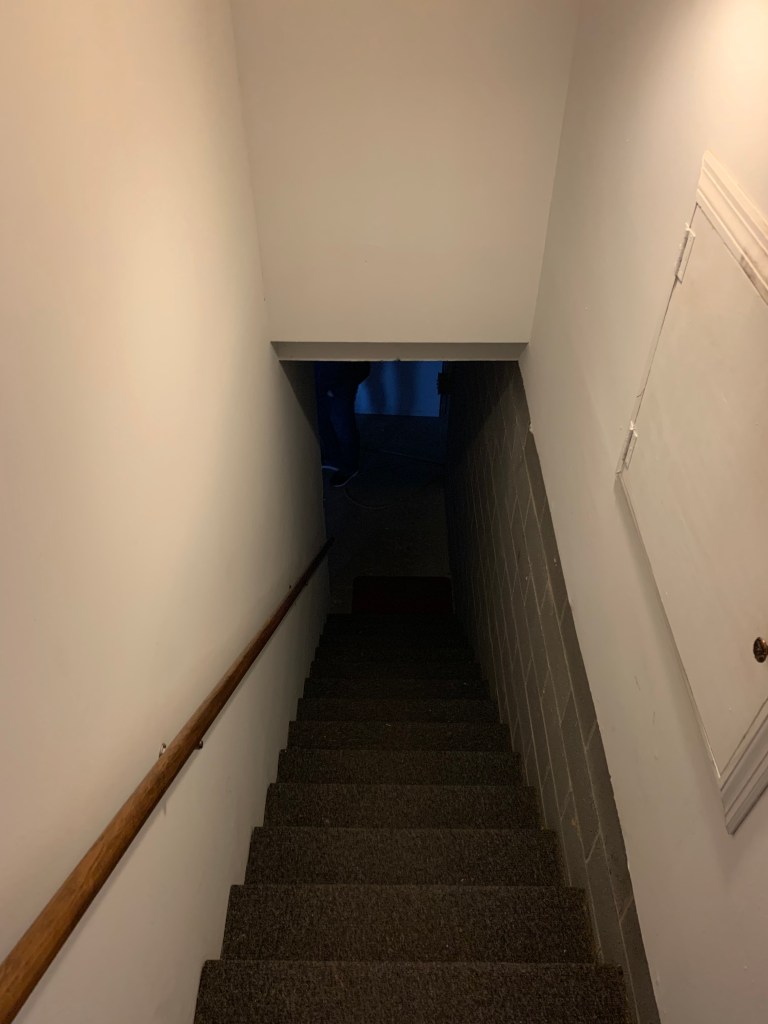
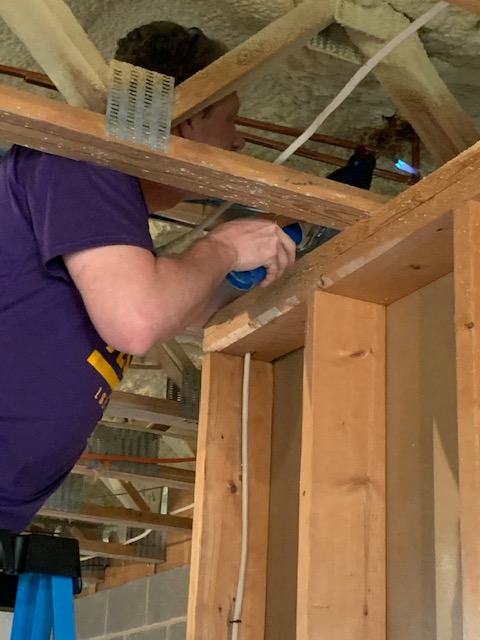
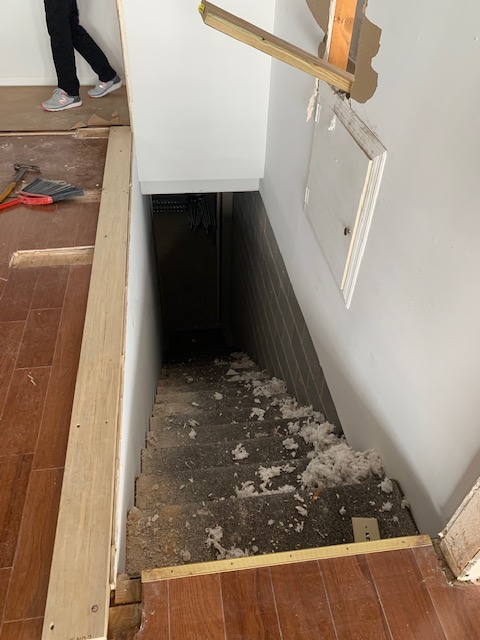
Hi everyone! This week has been crazy busy but we’ve gotten a lot accomplished and we are both very happy with our progress. I can’t wait for you to see what we’ve done! You may remember that when we left off last Saturday we had the big whoops of the shower door top being cut too short. Quick update on that – first thing Monday morning, Keith called Delta (the company that makes bathroom things, not the airline) and they are awesome and are sending a new top to our shower door. It will take 5-8 business days to arrive so we hope to see it this coming week. We enjoyed a few days at home relaxing and ordering food from our favorite local places and returned back to the mountains on Tuesday. Our handyman came Wednesday and brought a helper for 3 days. As we mentioned, we’re using Kevin (who is awesome by the way) to supplement things we don’t have time or the desire to do. He and his helper got a lot done this week! So let’s dive in and I’ll share with you the progress. Last week we had gotten the stairwell walls demoed. This week, Kevin was able to frame up the new stairwell surround and partially drywall it. Here’s a look at what was done.

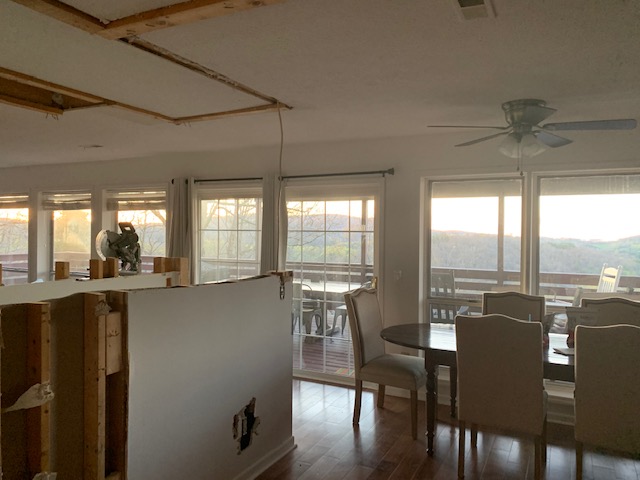
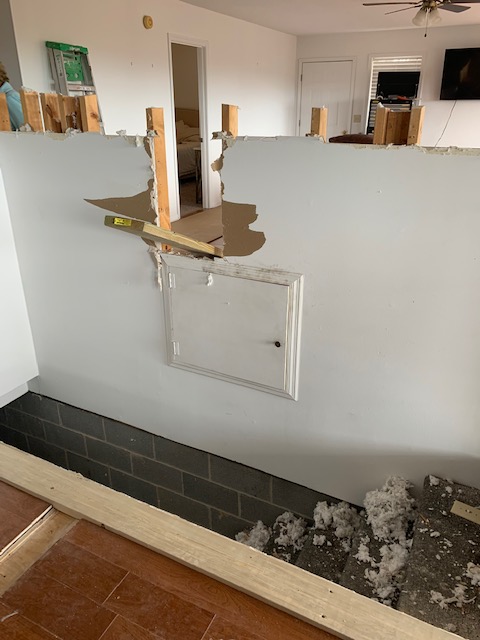
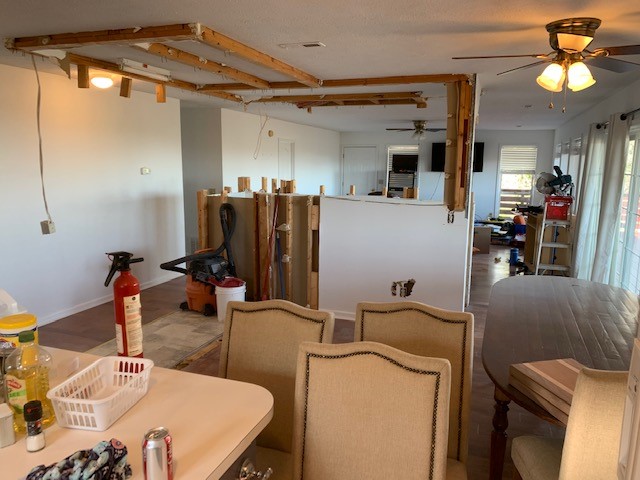
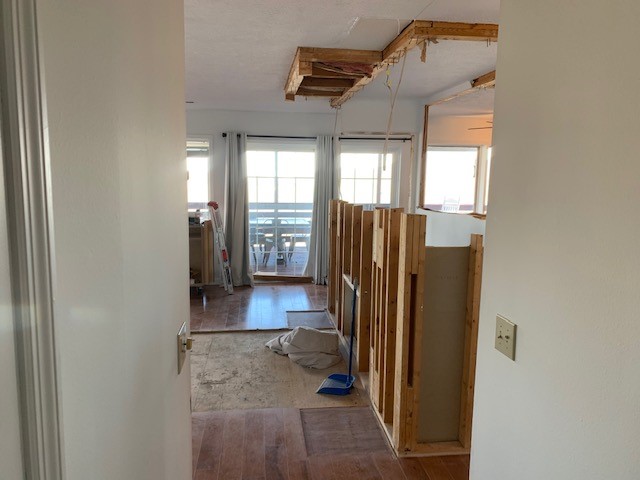
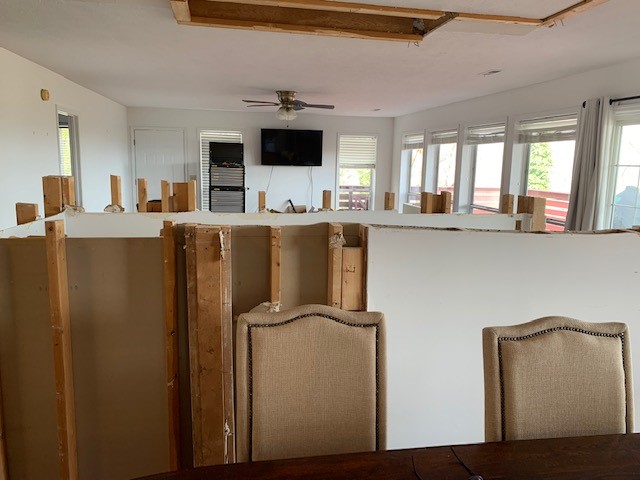
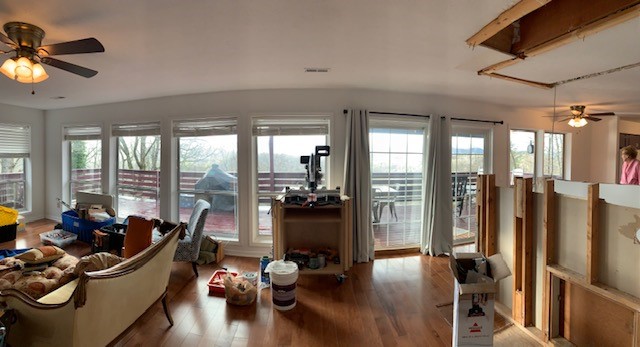
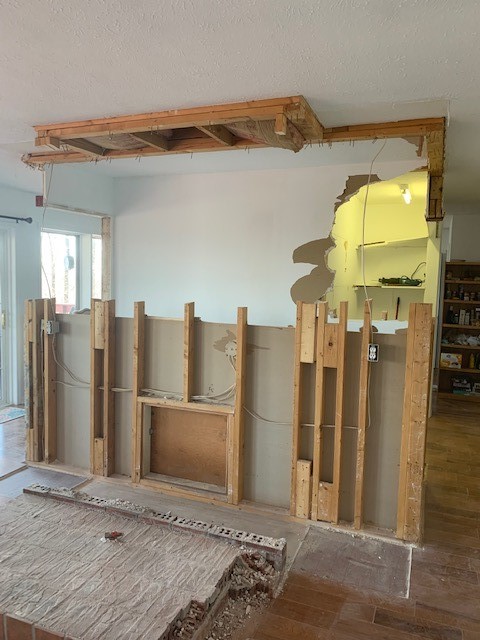
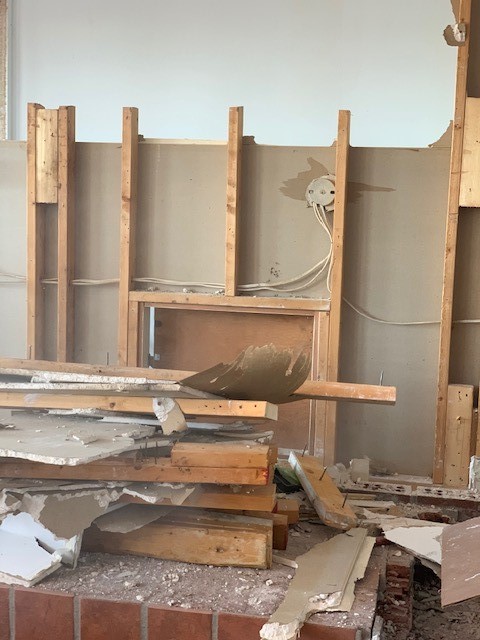
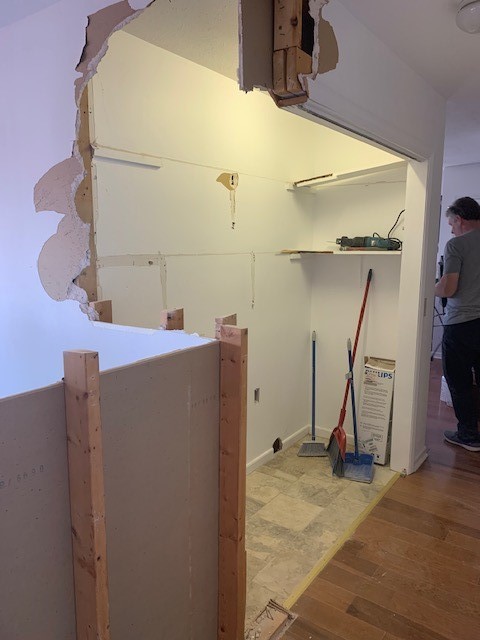
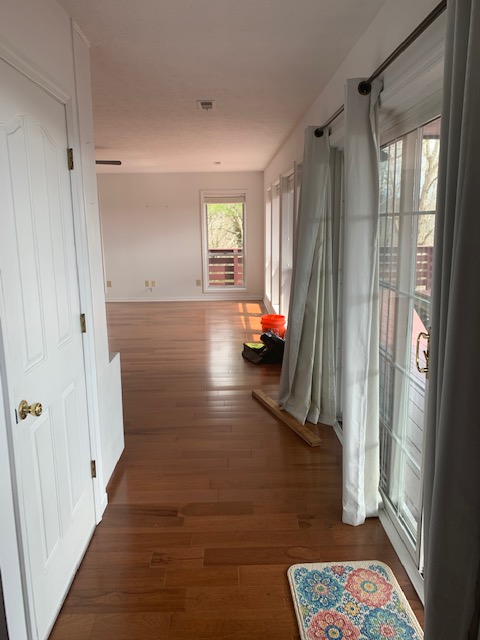
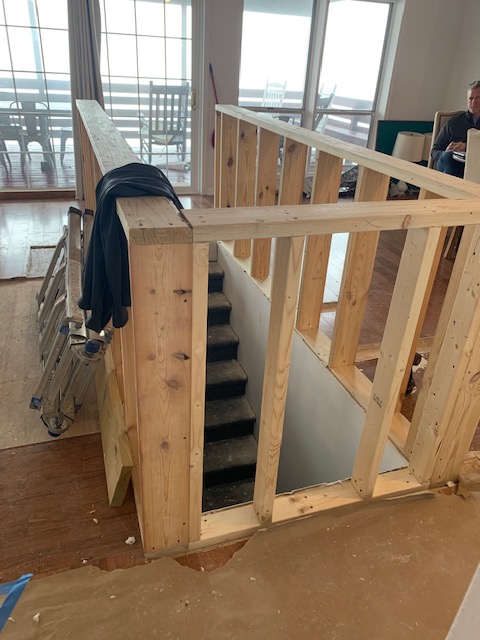
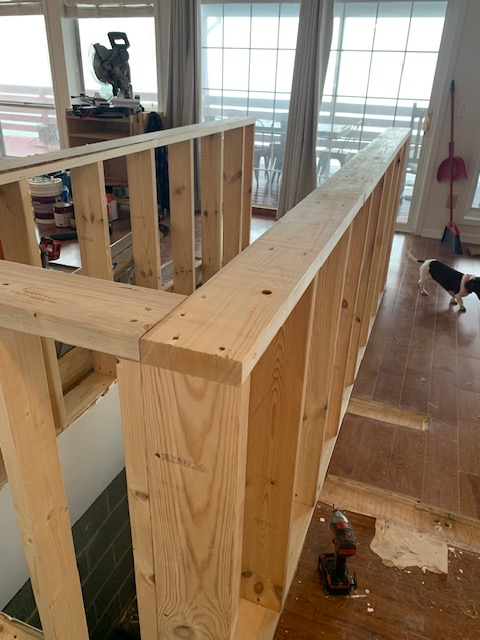
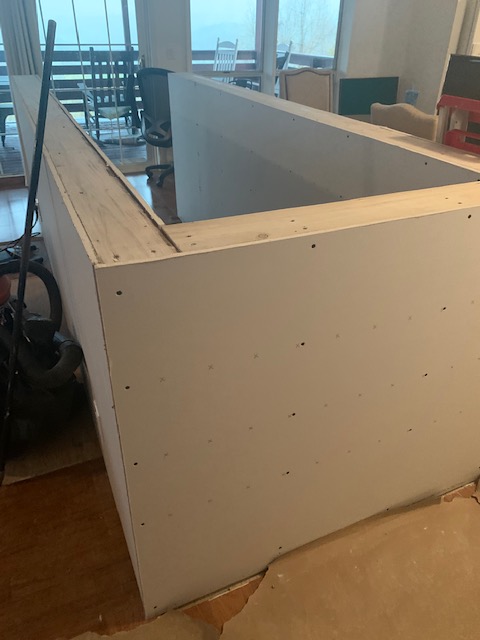
When we cut the wall down, there was some question about how to make it the most stable. We decided to upgrade from a typical 2×4 framing to a 2×6 framing. Since the stairwell is in the middle of the living area, it’s important that it’s stable. This put a kink in my original design, but the stability is worth it and I’ll share a little more about that in a minute. Before, that, here are a few more pictures of the progress, including the after pictures of the newly framed wall.

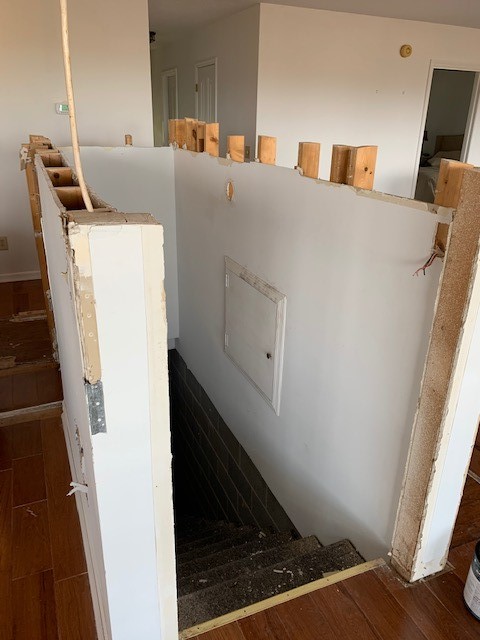
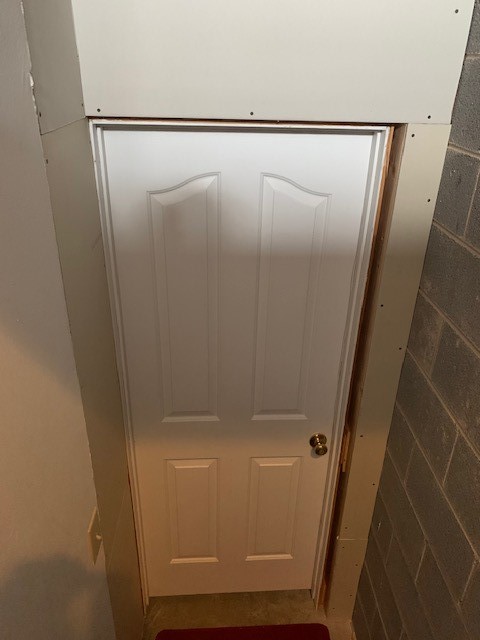
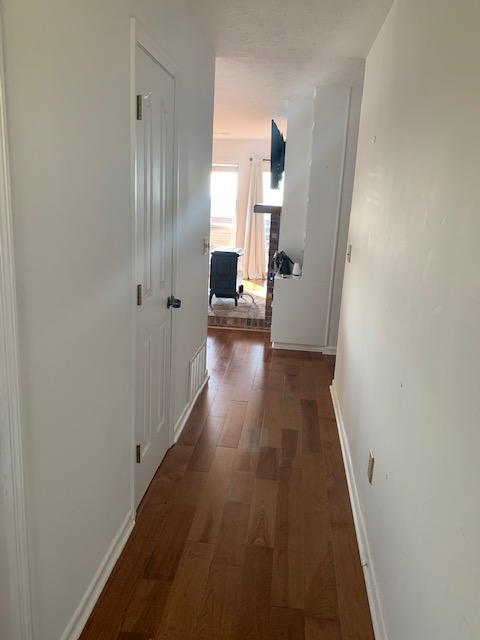
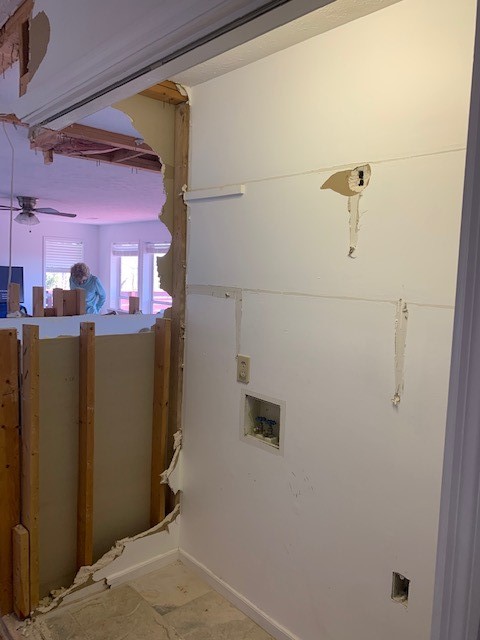
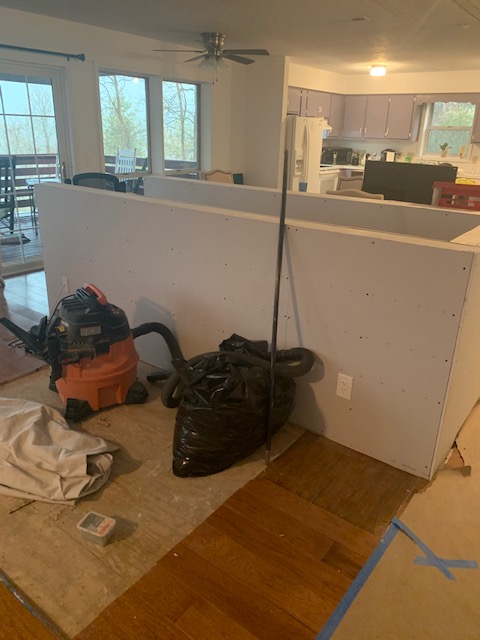
And finally, the newly drywalled stairwell down to the basement. Notice that we’ve also filled in the gaping holes in the ceiling with drywall.

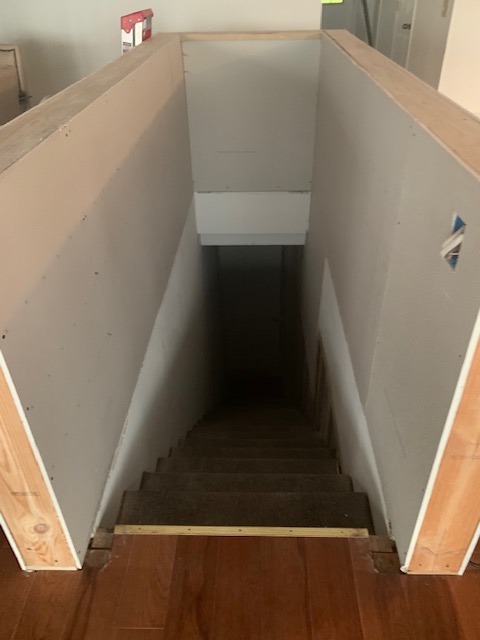
The guys will wrap up drywalling down the stairs later this week. Once it’s mudded and taped then we will rip up the carpet down the stairs. We hope the flooring arrives this week as well, and Kevin will work on installing that. I honestly think I can do it but Keith (and maybe me too a little bit) is afraid I’ll screw it up. So we’ll leave it in the hands of the professionals!

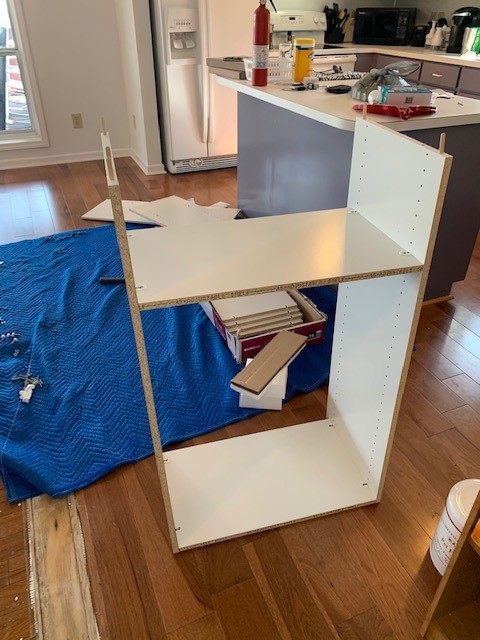
I want to share with you the dilemma that the 2×6 framing has caused me. If you remember my very first post, I had a very creative way to minimize the fact that we have a stairwell wall in the middle of the house. My plan was to make the den side of the stairwell wall be built-in bookshelves and the kitchen side be a banquette. But a 2×6 wall would make the built-in bookshelves kind of bulky and so I started thinking through plan B. The banquette shouldn’t be a problem, thankfully. Now back to plan B. Keith & I love a website called ana-white.com. She has amazing furniture plans and we’ve made several things from her website. Since I didn’t want bulky bookshelves, I decided something a little more open would be better. So we will be building shelves similar to the picture below, but we will make them as long as the wall, to still try to kind of “hide” it.

I hope you like it! We’re excited to build it, but that will be another few weeks before we get to the bookshelves or the banquette. I’m trying to decide if we will paint or stain the bookshelves, so if you have an opinion, let me know what it is and why!

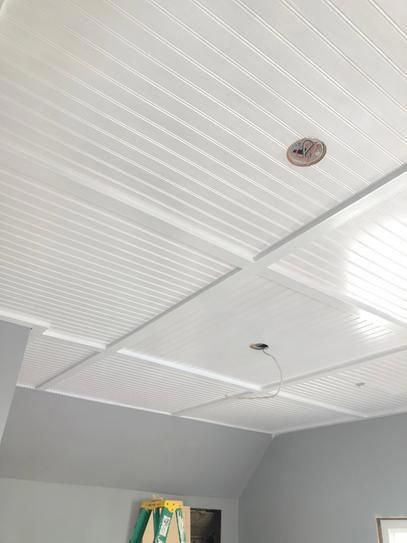
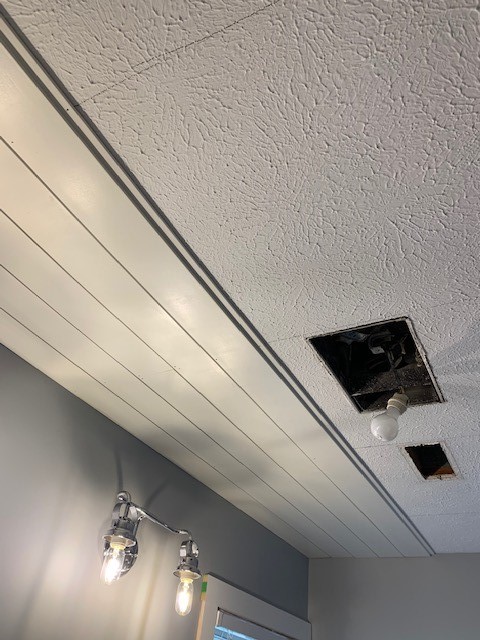
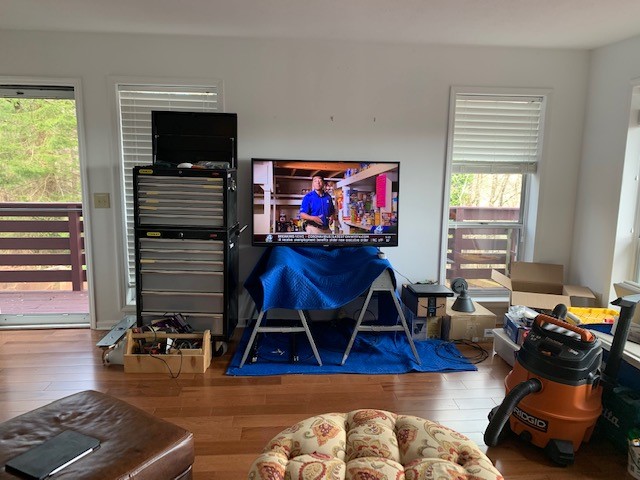
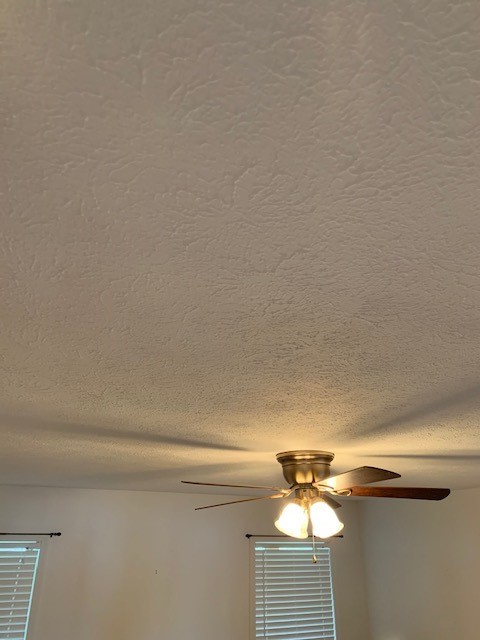
Kevin and his helper also put shiplap up on our ceiling in the master bedroom. Keith & I are perfectly capable of doing that ourselves, but it’s time consuming and it was just faster to have them do it. And they did a beautiful job! I think the pictures tell it all. Here’s the before…

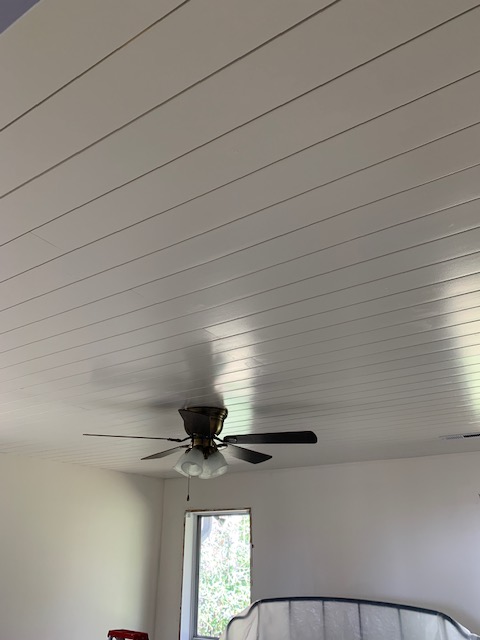
And the after….WOW! I’m glad that Keith painted it and I didn’t, because it was a lot of work! (Not that I was slacking…I’ll get to that in a minute)

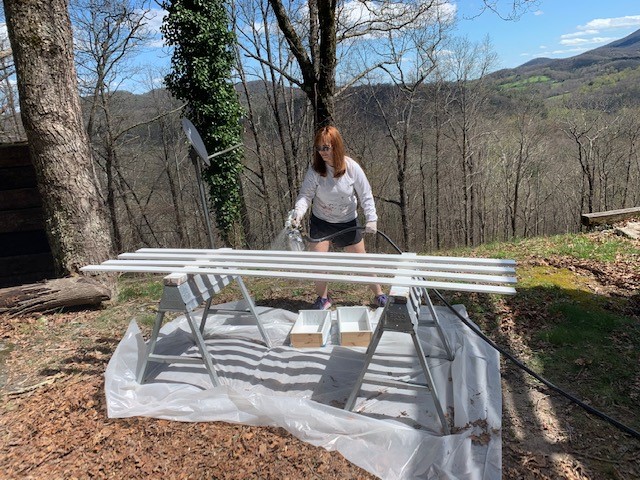
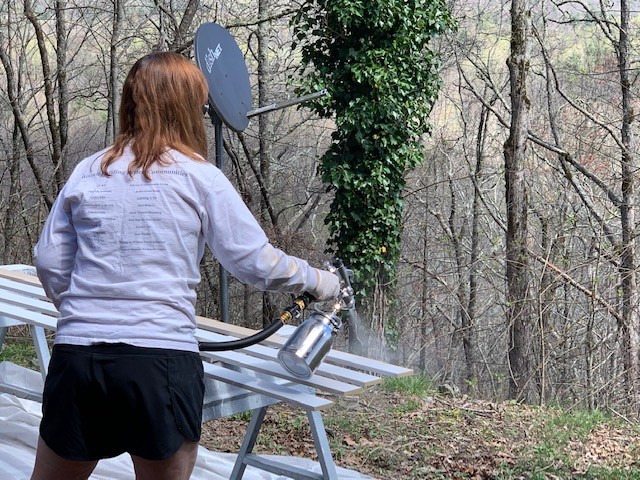
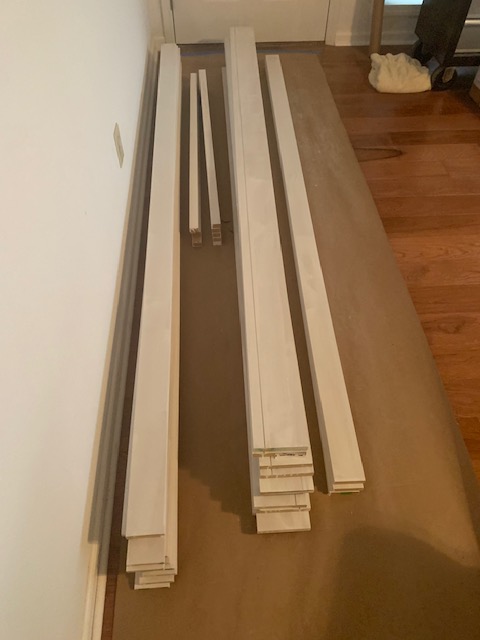
Before Keith painted the ceiling, we took down ALL of the trim (baseboards, window trim, door trim) and then we milled the groove in our new baseboards and cut some extra trim for above our doors and windows. Then, while Keith was busy painting the ceiling and exhausting himself, I was outside working and praying it wasn’t going to start raining on me. I mentioned before that we have milled our own trim out of MDF for the house. It’s cheaper and allows us to get exactly what we want. But it does require more work. It required me to sand down each piece so that the cut edges would be smooth and then I had to prime all of the pieces. That’s no small task for 200ish linear feet of trim.

Primed trim

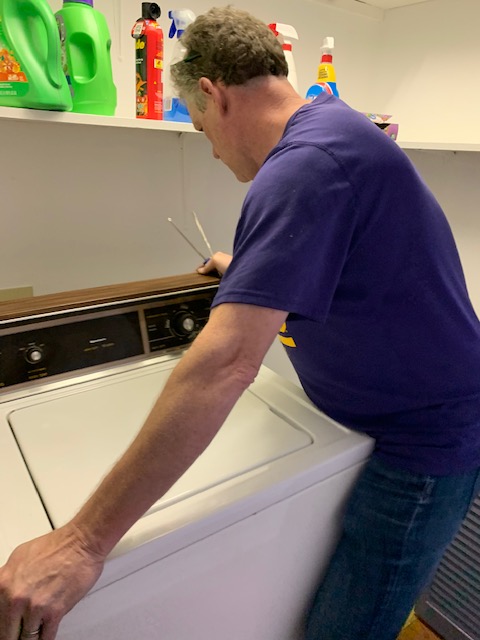
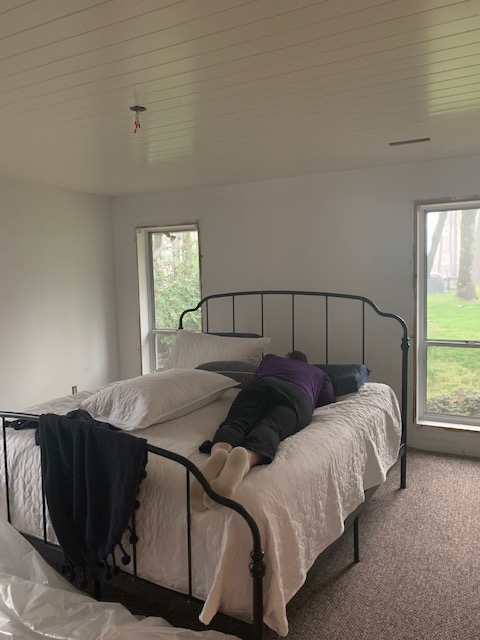
After that we were both completely spent and called it a day. And by spent, this is how I found Keith when I went looking for him – face down and half asleep!

One other fun thing which happened on Saturday is that we got our first visitors! Mike, the son of the couple we bought the house from, and his wife Christine live in Highlands full time now and they dropped by for a visit on their way “down mountain”. Their reaction to the changes we made was so fun to see, and we had a great visit (social distancing practiced, I promised) and look forward to hanging out with them more when it’s safe to do so!

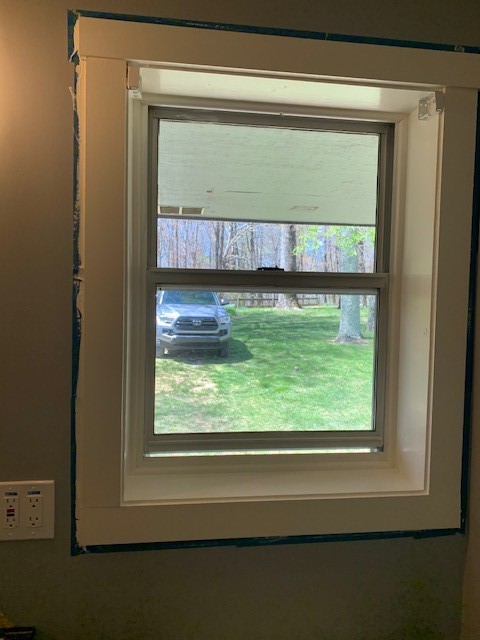
We thought we had worked a lot on Saturday, but it didn’t hold a candle to what we got done on Sunday. We both woke up pretty early and worked all day long. We started with painting the room. And it looks so good with a fresh coat of paint. We’ve decided to keep things simple by going with SW Dover White for everything – trim, ceilings and paint. It makes it a lot easier that way, and it’s a nice creamy warm white. Once we wrapped up painting the walls, Keith started cutting the trim, and I went on and painted out the baseboards before we put them up. By painting them outside, we didn’t have to be super careful around the carpet. Once the baseboards were painted, I started cutting for Keith while he hung the new trim. Then came the painful part … caulking and caulking and caulking until my fingers literally started bleeding! Once I wrapped that up, taping began. Mom got into the action there and helped me tape up the room. Thanks mom!

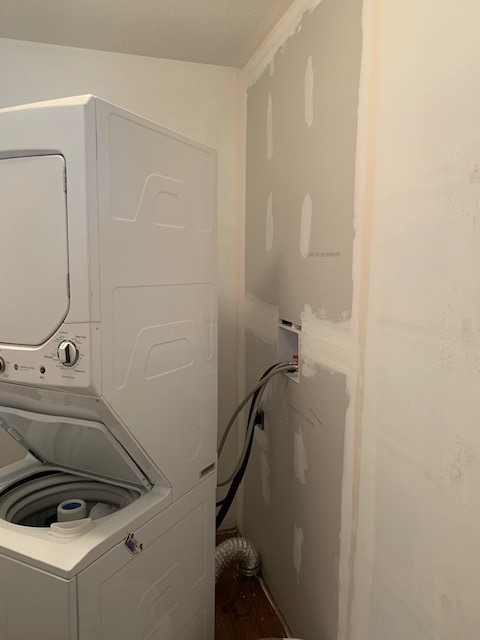
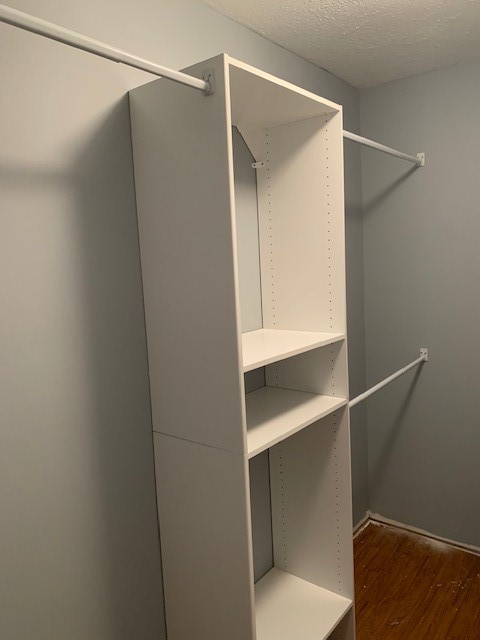
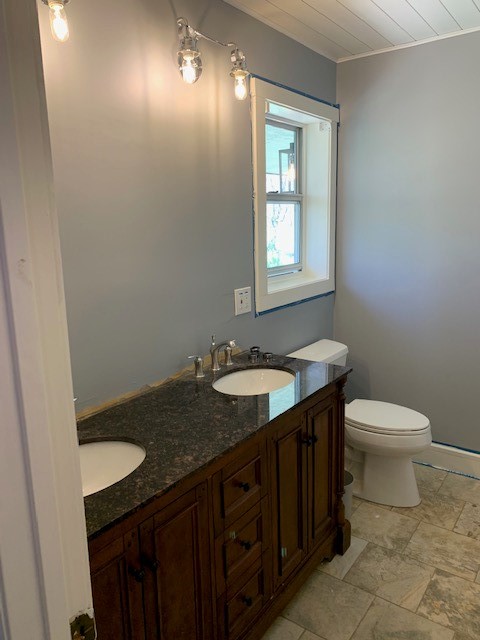
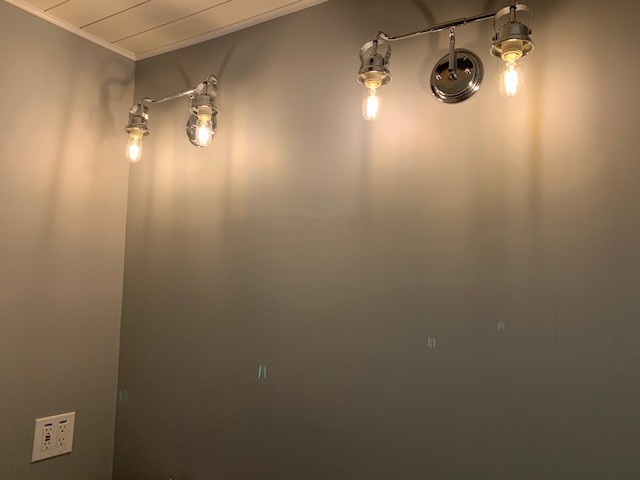
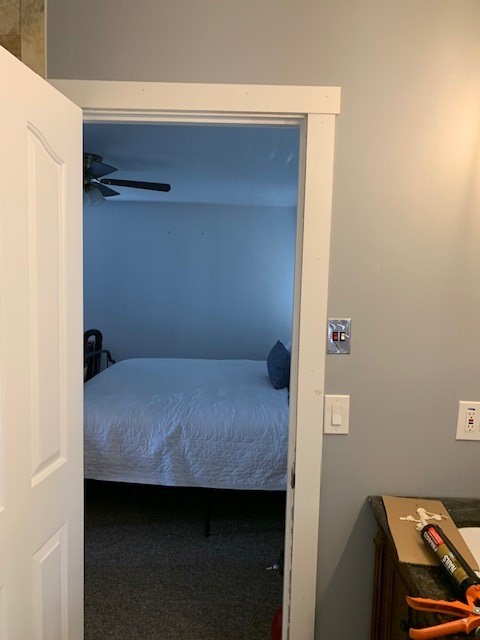
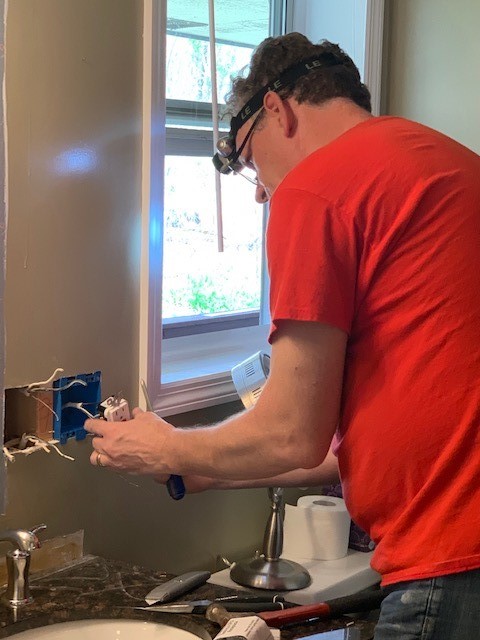
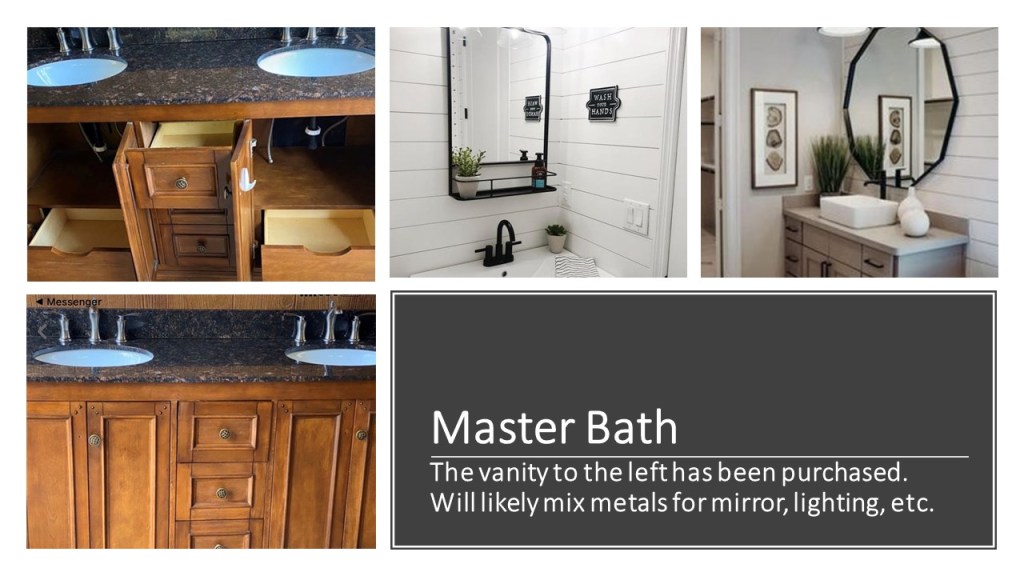
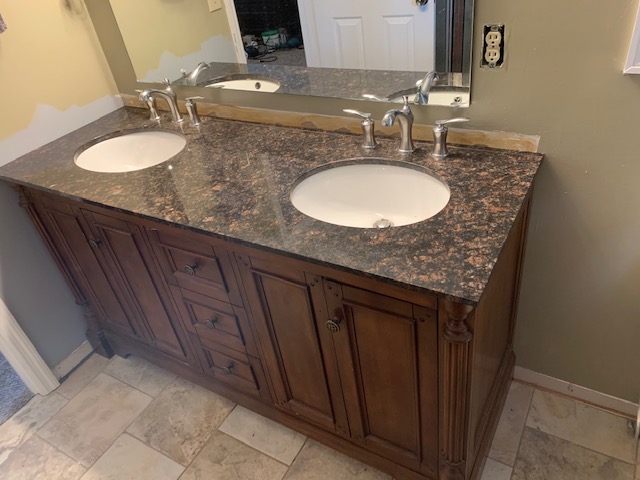
After that, I painted all of the trim and Keith replaced every outlet and switch with new, more modern looking ones. But I’m going to leave you hanging here and will blog again in the next day or two with the final after pictures! We didn’t finish up until after all of the natural light was gone, and there are a few little things to wrap up. But to whet your appetite, we are officially done with the master bedroom except for carpet and doors, which will happen hopefully in the next several weeks. The master bath will be wrapped up as soon as we get the shower doors, and the closet is also done, except for new carpet.

Until next time, stay safe and sane my friends!

So much accomplished, so little finished…

Hello readers! So much has happened in the past week since I last blogged. Let’s review where we left off. Keith & I had started demo on the center part of the house. We took Easter Sunday off for much needed rest, but got busy this week and got a lot done. That being said, we had hoped to have at least one room finished. One tiny room. That’s all we wanted. But no, it just wasn’t meant to be!

But let’s start with what did get done. Demo on the center part of the house is pretty much done until we’re ready to frame up the surround to the stairwell. And before that happens we have some unexciting drywall work to be done on the ceiling (you can see a little sneak of the ceiling – all of those boards need to go and be replaced with drywall. Here’s a quick reminder of where we were last Sunday.

And here’s where we are now! All of the brick that was part of the old fireplace hearth is gone, all of the walls are down, and we’ve even been able to move the kitchen table to the location it will be in long-term!

And then here’s the real thing to be excited about – you can see the panoramic view regardless of where you are from the main living part of the house. I didn’t get a great picture yesterday as it had stormed first thing, so you can’t see the breathtaking sunrise. I’ll try to get a picture of that next week.

Don’t get too jealous of our living conditions now! Haha! We have the biggest mish mash of furniture to use until we can go furniture shopping to find something which works for both Keith (tall) and me (not). In the meantime we’re just dealing with what we could easily bring up from Atlanta.

Now, let’s move outside for a minute to talk about the accomplishments there. As you’ll remember last week, I shared with you that we had opened up the stairs to the front porch and replaced the posts with beefier ones and it made a HUGE difference. This week’s changes were little and simple but WOW what a difference they made! We swapped out the light fixtures and added new street numbers. The street numbers will have to be moved when the house is painted, but they look great even on the unfinished post! Here’s a quick before reminder….

And here’s the after!

Oh – and here’s a fun little pic of the before and after on the lights!

I hope you agree that it makes a huge difference! Now I just can’t wait to replace that front door. That’s likely a month or so out, so we’ll live with the old door for now. We also made a change to the back porch light fixture. I don’t have a picture of the before, but here’s the after. It’s one of the lights I had originally bought for the front porch but decided it didn’t really work. And we are so happy with the ones we went with. But the other light looks great on the back porch, which is a good thing since I couldn’t return it because we opened the box and threw it away!

The master bedroom closet is SOOO close to being done and probably realistically needs 15 minutes of our time to wrap it up. We decided to come back to Atlanta for a few days and after a frustrating day yesterday decided to just leave things as is and head home to civilization (and a lot of options for ordering food for pickup!) for a few days. When we left off last week, we had a working washer/dryer but no drywall behind it. That has now been drywalled and painted and the trim has been put in. Half of our new closet organizers have been put up and we just need to put up the other one and scoot the washer/dryer back into place and we’ll be done.

Now let’s talk trim. Trim is expensive and there aren’t a lot of options that you can just buy at Home Depot or Lowes. So, we decided to mill our own trim. It’s cheaper and while it’s a little more work, it’s not that much more work. Since we’re going for a bit of a cottage vibe here, I picked craftsman-like trim which I liked. Keith then went and bought both 3/4″ and 1/2″ MDF and started cutting … and cutting … and cutting… Then it was my turn to prime … and prime … and paint! We’re still playing around with the trim and I think have decided to add one more layer to the top trim of our doors and windows.

Here’s a look at the trim we agreed upon and are making for all of the baseboards and casings. We are making this out of 3/4″ MDF. We’re using the 1/2″ MDF for the sides of door casings and windows and 3/4″ for the tops so there’s a “shadow line”. We haven’t yet, but will likely add the second layer on the tops of the casings as shown below.

As I said, we really wanted to wrap up a room, and the room we wanted to wrap up was the master bathroom. It was our first project when we ripped out the old vanity and replaced it with our new (used) one. We really thought we’d wrap the room up before heading back to Atlanta yesterday, but fate (and a mistake) kept that from happening. Let’s focus on the positive and what has been done, then I’ll share what’s left to be done. What has been done: trim, new vanity, drywall repair, new outlets, caulking and painting, new light fixtures (minus the globes on them as Jennifer is clumsy and broke the globes and so we’re waiting until everything else has been done before we put the globes on now). Let’s take a look at all that we have accomplished.

One other big thing did get done in the bathroom, and that is the ceiling. Stippled ceilings are throughout the house, and unlike popcorn ceilings, you cannot scrape stipple. So, your choices are to replace the drywall or cover it. Initially we thought we would cover it like the picture below with sheets of beadboard and then trim it out. We thought it would be cheaper than shiplapping the ceilings, but after doing some research, the cost of the trim took away most of the savings.

Our original ceiling plan

After researching the cost of shiplap, we realized Lowes had the best price at 7.77 a 5″x12″ board, so we went with that. And the bathroom ceiling is done (except for another coat of paint)!

I forgot to take a picture of just the ceiling, but I promise it’s finished. And we even have cove molding put up around the perimeter of the room. We’ll be putting shiplap on the ceiling in the rest of the house.

So now let’s chat about what hasn’t been done. We haven’t yet put the globes on the light fixtures because we’re waiting to do that until everything else has been done so I don’t somehow break a globe again. And we still have to hang our mirrors and our towel rods. And then the biggie… we had a little screw up yesterday on one of our last things to be done and it ended with us both just saying screw it, let’s go home. They say “measure twice, cut once”. And they’re right! And Keith measured twice. But somehow between measuring and cutting, something happened and that something wasn’t good. You’re wondering to yourself, what was he cutting? Well, it was the top piece of a new shower door. The shower door has annoyed me from day 1. Not because it’s not nice, but because it opened into the back of the door in the bathroom. So I wanted sliding shower doors. They will give us another place to let a towel dry and it will be a lot easier to get in/out of the shower. I picked a simple and inexpensive option from Home Depot. We’re hopeful that Delta (the manufacturer) can quickly send us a new top and we can cut it properly and finish installing the new shower door, but until then, this is what we’re living with!

Whoops! That’s about an inch off! So fingers are crossed that customer support at Delta is as awesome as it was at the bathroom fixture company, Jonathan, and they’ll send us a replacement piece ASAP.

Stay tuned next week for the final reveal of the closet and hopefully the final reveal of the master bath! And some more tidbits about some “plan b” designs are revealed! Stay safe, stay healthy and stay sane my friends!

Tear Down that Wall, Mr. Heffron!

It’s been a busy week here at the Heffron house. As I mentioned in my first blog that I somehow deleted, we have found a gem of a handyman to help us with some of the projects that we don’t have the desire or time to work on, and he was busy at our house for a few days this week. A lot of what he was working on isn’t so glamorous – drywall hanging and repair, moving the basement door from the top to the bottom of the stairs, and then something I can’t wait to show you. Let’s start with that. From Day 1, I have felt like the stairs to the front porch/door are just TOO narrow and make the house look smaller than it is. So, Kevin (our awesome handyman) fixed it for me! Let’s take a quick peek at the before ….

And now the after! Notice that in addition to widening the stairs, he replaced the 4×4 posts with 6×6 to have them look more substantial. I think it looks so much better and will look amazing once everything is painted out! He still needs to trim out the top of the 6×6’s but there’s no huge rush on that.

I LOVE the wider opening! What a difference it makes!

Keith was busy (in addition to his day job) this week as well. He added 6 outlets in the master bath and moved the electrical to allow for two fixtures in the master bath rather than one. We’re still waiting for the drywall repairs to be finished so right now we’re living with temporary lighting, no mirrors hung, etc. Good fun!

As I mentioned, we also had Kevin move the door from the top of the basement stairs to the bottom. Eventually we will finish the basement out, but until then we need to keep the cold air down there. So we’ve got a temporary wall and door to do that. We will go on and drywall down the stairs where there’s cinderblock, and I’m thinking we will also insulate the basement walls to help keep the cold from coming upstairs. This doesn’t seem like much of an exciting step, but it was critical to do prior to tearing out the middle of the house.

Now, on to tearing down that wall! Today was the beginning of real demolition at the house. I’m not going to lie – Keith did the hard work today. I’ve been battling a stomach issue and am still regaining my energy after a few very miserable days. So I mainly did clean up – throwing wood, drywall and general construction debris into the dumpster. Mom got into the action as well and helped do cleanup. We are not done yet, but we made good progress on it. We’ll work on it some more tomorrow and then Kevin can wrap up whatever we don’t get to next week. Here’s a reminder of the before…

That brick is HARD to remove. We got a little bit of the brick on the floor out but not a lot. But the back part of the hearth…that’s another story! Keith had a blast getting it to come down.

To give you perspective, remember how I said it was such a shame that you couldn’t see the view when you walked in the front door? Well you can now!

Here are a few more pictures of demo and progress made!

Now, just to make you all a little jealous, I’ll share with you our new TV “console” which we have set up. Eventually this will be a fireplace and the TV will hang above it, but for now, yep, those are sawhorses the TV is resting on!

Pretty glamorous living, huh? Happy Easter everyone!

So I told you I’m new to WordPress, right?

Well, many of you read my first blog post. And it was long. Really long. And guess what? I managed to somehow write over it with my second blog post. I still don’t really know what I did, but I did it and now I can’t figure out how to find it again. So, I’m left with the reality that I need to rewrite the first blog. Why? Because some of you didn’t get to read that masterpiece and see my vision for our house.

Let me tell you a little bit about my vision for the house. I’ll run you through it space by space. It’s a fluid vision and we’re already having to adapt a few things based on what we are finding behind walls, etc. We have the basic plan and are moving forward accordingly!

I’ll start with the outside of the house. Teaser here that progress has already been made on it, but you’ll have to wait until my next post to see it.

It’s a very pretty color of gray and has an almost-new tin roof on it. However, the color choices make the house look a little “squatty” and don’t really emphasize its charm. My vision for the house is to widen up the stairs to the porch (in progress right now), paint the exterior and railings white with black trim around the windows and gray paint for the steps and deck floor. Additionally, we will change out the old and somewhat tired front door and replace the front light fixtures (happening very soon). We’ve already given all of the bushes a really good trim, which made a huge difference. So here is my vision board for the front to give you a better idea of what it will look like.

Now let’s move on to the front hall. It seems like something you wouldn’t ordinarily focus on but it’s important to talk about. It’s long and narrow – about 3 1/2 feet wide and about 14 feet long. There is a door to the guest bath and a door to a hall closet but otherwise nothing to break up that long hall.

My plans for the hall are to replace the light fixture which hangs down with 1 or 2 recessed cans, add board and batten trim to dress it up a bit, and add some interesting artwork (which I already have, thanks to my artist friend Linda!). Oh – and change out that front door too.

Now let’s move on to the den. Today, once you walk down the hall to the den, you’re faced with a protruding bookshelf, potbelly stove and hearth setup which blocks the amazing view. Once you get into the den, though, you see the amazing view and a large room which has beautiful hardwood floors and picture windows throughout.

See how the potbelly stove protrudes quite a bit out into the room? I’m shocked that my mom and I haven’t tripped over it yet, because we Lamson ladies have a tendency to be a bit … shall we say … clumsy? Plus, it takes up a LOT of square footage. Picture it gone. Because it will be soon and I mean REAL soon! Like this weekend! Woo hoo! Notice you also can’t see past it into the kitchen. That’s about to be a part of the past. My vision for the room is to remove all of that and open up the stairwell to the basement, which we’ll get to in a moment. Keith & I are not huge potbelly stove people, but we do want a fireplace. We struggled with it as Keith really wanted to build a real fireplace with a real chimney, etc. Given that we are on a budget and we are trying to be smart with this project and do as much as we can on our own, we’ve settled on putting in a direct vent gas (propane) fireplace in between the two windows on the side of the room (see pictures above). Speaking of that wall, we’ll also be removing the door there and drywalling over it. We’ll wait until all demo in the house is done before we do that, as it’s a great way for us to throw things into the dumpster which will be placed right below it!

Now on to that stairwell. It bisects the house and was really a design challenge for me when we decided to buy the house. It’s smack dab in the middle of the house, cutting the kitchen and den off from each other, and it opens right into the slider doors to the deck. We talked about moving it but that’s a HUGE expense. But one good thing about the house is that the walls in the middle of the house are not load-bearing, so removing everything won’t be an issue. But who wants a stairwell heading down to a basement in their house? Not me.

Code is to have a 42″ knee wall surrounding a stairwell. But how do I hide it, you ask? Well, on the den side I’m going to make the wall be a bookshelf and on the kitchen side a banquette.

The kitchen is on hold until our “shelter in place” is over and Ikea opens back up. However we’ll hopefully have the rest of the place in pretty good shape by the time that happens. The kitchen is currently small and not laid out particularly well, but has 3 pantries/closets for it. Yep, you read that right – 3 pantries/closets. We’ll be ditching all of them and using cabinetry to replace them. The true “pantry” is part of the middle of the house which will be demoed this weekend and then there’s a utility closet and another closet which I can’t quite figure out what it’s for? Maybe a coat closet? Regardless, those will be demoed when we demo the kitchen. By demoing the true pantry and the laundry closet which is behind it, we’ll be able to put a beautiful French antique table in front of the banquette we’ll be building.

I mentioned Ikea. We love the Ikea cabinets. They’re smart, inexpensive and well-built. I designed my aunt and uncle’s kitchen a couple of years ago and we went with Ikea and it turned out awesome. We plan to rip out all of the kitchen as well as the extra closet and pantry and make it all a large U shaped kitchen with an island. If we were to go with custom cabinets or even something from Lowes or Home Depot, we’d spend a small fortune, as the kitchen will be 17′ wide by 11′ deep. So Ikea it is. The only thing we’ll do different is that we will build our own fronts to them. I got a commercial paint sprayer for Christmas and I cannot wait to use it for them. It will be significantly cheaper for us to make the fronts ourselves plus I think they’ll look better. We’ll make them shaker-style so they won’t be hard to make.

There are two bedrooms and two bathrooms in the house. Again, eventually we’ll finish the basement and put in at least 1 more bedroom and bath down there, but for now we are working with what we have. The bathrooms have both had their tile replaced and nice showers put in. We’re still deciding what to do with the guest bath as the shower is very tight, so that’s in flux a little bit. Both could use new vanities and the master bath already has a new one put in. I’ll share more in a future post about that.

Again, for now we’re leaving the guest bath as is but hopefully in the fairly near future we’ll be able to make a larger shower by moving the toilet to the opposite side of the bathroom and make a smaller vanity. The master bath is already a work in progress. Here’s the vision but stay tuned for an update on it hopefully within a week or two when we wrap it up.

There are a lot more things to share, but I’ll save those for another time. I hope you enjoyed learning a little more about our project.

Quarantining and Renovating!

When we decided to buy the place in early January, we had heard of the Coronavirus but like all Americans somehow thought we were impervious to it. We all now realize how short-sighted we were with that. One could argue that this would be the WORST time to buy a second home, but we’re both thinking it’s the BEST time to have something to do! We’ve got Mom (my proof-reader, cook and organizer) with us until the virus slows down. We’ve made the decision to spend our quarantine up in the mountains rather than in Atlanta where we think we’ve got a bigger likelihood of being exposed. We are headed “down mountain” (oh my, do I sound like a hillbilly yet?) later today to go back to our Atlanta house and pick up the necessities (like our Peloton bike so we don’t get fat from mom’s good cooking) and everything else we can grab to stay up here for the near future. We definitely won’t be bored up here!

I’m thrilled that so many of our friends want to follow along on our journey with us. You’ll learn how Keith can seriously do ANYTHING he puts his mind to! You’ll also learn that I’m design and he’s production and I’m his production assistant. I won’t claim to know how to do electrical or plumbing, but I am beside him to help him do a lot of things. I have decent carpentry skills but nothing like him. We do play off of each other’s ideas very well and we can usually find a solution to any problem.

Enough about all that…let’s get on with what we’ve done over the past few days. I mentioned in my first blog post that our master bathroom was one of the rooms we were going to tackle. It’s far from done, but we have made good progress in that Keith wrapped up our new (to us) vanity which I found on Facebook Marketplace for $150 all in. I think it looks terrific. I’ve ordered mirrors which I hope show up (not quite sure about getting packages up here), a new shower door, towel rods, lighting, etc. Hopefully we’ll have a completely finished project to show you in the next two weeks or so.

To remind you, here’s a picture of “before” for the bathroom vanity.

And here’s the during and the after. Mind you, that husband of mine had to re-do the plumbing from one sink to two. No easy task, I promise.

Love that Keith has adopted my LSU Tigers!
No plumber’s crack for my man!
Haha – I screwed in a few screws on the plywood til I decided I didn’t like Keith’s impact driver and he finished it up.
I’ve since added new knobs as some were missing. When we do the final project post I’ll show it all to you.

Now, on to what else was accomplished this weekend. Keith moved the laundry from a laundry closet which will be demoed soon to our master closet. The master closet is 5’x8′ approximately and big enough to house a washer/dryer combo. We went back and forth on this subject for a while when we decided to demo the middle of the house where the laundry did reside. Finally after a conversation with my friend Debbie where she told me they had put a combo unit in their closet, I convinced Keith it was a good idea. And it was! This won’t shock you to hear that my thrifty nature kicked in again and I found us a fairly new used washer/dryer combo on Facebook Marketplace for $400. (a fun small world story here – when I went to message the person selling it I realized we had two friends in common on Facebook – turns out she’s friends with my sweet cousin Ellen and we were all at Ellen’s wedding in Charleston in July!)

Back to the point. In just a few hours, Keith moved plumbing to our master closet, and put in the new electrical for the dryer. He then disconnected the old washer and dryer and we (yes, I helped with this) moved the old washer and dryer out of the house, over the yard, down the very steep driveway and into the garage. We are keeping them as one day we may want to put more laundry down in the basement. He then connected up our new unit and I’ve already done three loads of laundry in it. Woo hoo! We do still need to put up the drywall behind it but didn’t have all of the right supplies. We’ll probably have our handyman help with that. Here are a few pictures…

Laundry closet is behind those gray doors
buh bye old washer!
Keith doing soldering of the plumbing pipes for the new laundry closet
New laundry box, plumbing and electrical
The “almost” finished project. Functional but still needs drywall behind it and then we’ll paint the whole closet.

There was one project this weekend that was (mostly) mine. That was putting in a new retractable screen door for the front door. The old screen door slammed shut on you and made a horrible noise. This one doesn’t hide the door and is pretty cool how it works. I didn’t find this used, but rather ordered it from Home Depot. Here are a few pics.

Very quick assembly then 6 screws and you’re done. My kind of project!
That’s the screen closed – you don’t even really see it!

Last but not least, we moved the gate that was by the front steps over to the back side of the house since we are going to expand the steps and front area. Chloe, our adorable miniature dachshund has gotten quite bold and gone exploring a little too much for my liking. Rather than build a new gate, we simply took off the existing one and repurposed it to the side of the house. The only cost here was a 2×4 and 4×4 post. When the house is repainted it will look better but for now, we don’t really care as long as Chloe can’t go adventuring quite so much.

That’s it for now folks! Because I haven’t yet figured out how to make the post not look weird if I share it on social media, I’m going to put another picture of the view to wrap up this post! I hope you enjoyed! If you have any questions or comments, feel free to put them here or on Facebook.